
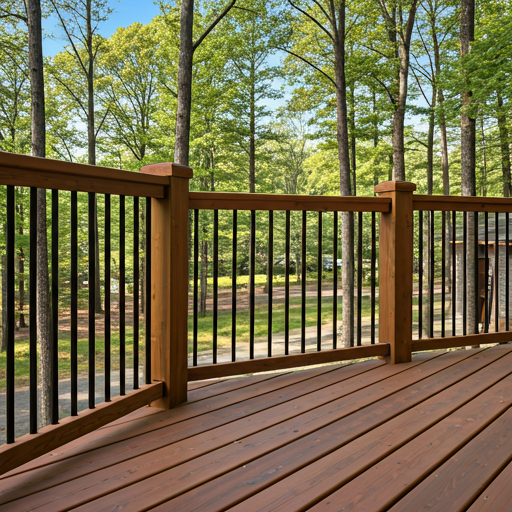
When a Seattle homeowner asks whether to build a freestanding deck or an attached deck, the honest answer is: it depends on what we find when we look at your back wall. In Phoenix or Atlanta, this decision is largely structural preference and budget. In Seattle, the ledger connection — the point where an attached deck meets your home's framing — is a critical junction that sees more rain, more wind-driven moisture, and more sustained wetness than the same detail would face in most other U.S. markets. Get it right and you'll never think about it again. Get it wrong and you'll be replacing siding, remediating structural framing, and potentially rebuilding the deck before the composite boards have been in service a decade.
A freestanding deck — also called a floating deck or self-supporting deck — stands entirely on its own post-and-footing system. It sits close to the house but does not attach to the building envelope. An attached deck uses a ledger board bolted to your home's rim joist, sharing structural load with the house and penetrating the building envelope to do it. Both approaches produce a structurally sound, code-compliant deck when built correctly. The question for King County homeowners is which one is correct for your specific home, site conditions, and budget.
Industry data from the NADRA attributes approximately 60% of structural deck failures in the U.S. to ledger connection problems — improper installation, inadequate flashing, or water infiltration over time. In Seattle's climate, where the National Weather Service documents 150+ wet days per year and 37–38 inches of annual rainfall concentrated in a long wet season from October through April, that statistic is not academic. It's a real pattern we've seen play out in remediation work on King County homes where ledger details didn't hold up to decades of PNW moisture exposure. The homes where the ledger fails first are almost always older construction, challenging siding types, or flat rear walls with no overhang protection — exactly the conditions we assess before recommending a structural approach.
The Structural Difference: How Each System Works
Understanding what makes these two approaches structurally different is the foundation for understanding when each is appropriate.
How an Attached Deck Is Built
An attached deck uses a ledger board — typically a 2×10 or 2×12 pressure-treated timber — bolted horizontally to your home's rim joist (the outer framing member that runs along the perimeter of the floor system). The deck's floor joists hang from this ledger at the house side, with the opposite end supported by a beam and posts. The ledger carries approximately half the deck's structural load.
The code requirements for the ledger connection are detailed and specific for good reason:
- Bolts or lag screws that penetrate the rim joist at prescribed spacing, depth, and pattern
- Ledger flashing that prevents water from migrating between the ledger and the house structure — a layer of self-adhering membrane, Z-flashing at the top, and properly cut and sealed siding below
- Connection hardware (structural hangers, post bases, and beam connections) specified to carry the tributary load
When this connection is built correctly, an attached deck is structurally sound and has been the standard approach for residential deck construction for decades. When it's built incorrectly — inadequate flashing, fasteners that don't reach the rim joist, siding not properly integrated with the flashing — the result is a hidden moisture problem that can take five to eight years to manifest as visible damage.
How a Freestanding Deck Is Built
A freestanding deck eliminates the ledger connection entirely. Rather than sharing load with the house, it stands on its own independent post-and-footing system. On the house side, additional posts are positioned close to the foundation or home's siding — typically 2–6 inches away — but do not attach to it. The deck frame is continuous from house-side posts to far-edge posts; all load transfers to the ground through the post-and-footing system.
Freestanding decks make no penetrations into the building envelope. There is no flashing detail to fail. There is no ledger-to-rim-joist connection to rot. The building envelope is untouched. The structural risk profile is lower precisely because the point of highest failure probability — the ledger connection — doesn't exist.
The cost offset: freestanding decks need 4–6 additional posts on the house side (where an attached deck would use the ledger). This adds material and labor. However, Washington State Residential Code includes a provision that reduces this cost differential: freestanding decks not supported by a dwelling are specifically exempted from the frost-depth footing requirement. In King County, where frost-depth footings typically reach 18–24 inches, the shallower footing specification on house-side freestanding posts partially offsets the added post count.
Key insight
Why Seattle's Climate Makes the Ledger Decision More Critical
In a climate with 150 wet days per year, wind-driven rain that angles differently than vertical rainfall, and a natural tendency for wood to stay damp for extended periods due to low evaporation rates, ledger connections face conditions that ledger flashing details designed for drier climates don't anticipate.
The Moisture Infiltration Problem at the Ledger
The ledger lives in a structural pocket between the house siding and the rim joist. Water that gets past the flashing — and even the best flashing details have microscopic failure paths over time — has nowhere to go. It sits in contact with the rim joist, the structural blocking, and the OSB sheathing behind the siding. In a climate where that material never fully dries between wet seasons, the conditions for rot are chronic.
Wood rot in rim joists and OSB sheathing is progressive — it begins in a small area and spreads laterally along the moisture infiltration path. By the time a homeowner notices soft spots in the ledger area or sees the paint bubbling on the siding near the deck, the structural damage has typically been developing for three to five years. The remediation scope at that point is not just deck repair — it's siding removal, structural member replacement, sheathing repair, and re-sealing, followed by deck reconstruction. We've seen this remediation run $5,000–$15,000 before the new deck materials are purchased.
Modern Ledger Flashing Done Correctly
For homes where attached construction is appropriate — post-2000 construction, sound rim joist, correct siding type — the correct ledger flashing sequence in Seattle's climate is:
- Siding cutback: Siding is removed (or cut back in the case of fiber cement) above and around the ledger location to expose the sheathing. Minimum 1-inch clearance above the ledger flashing.
- Self-adhering membrane: A flexible waterproofing membrane (similar to window flashing tape) is applied to the sheathing behind and above the ledger location, extending up under the siding cut and down below the rim joist band.
- Z-flashing at the ledger top: Metal Z-flashing at the top of the ledger directs water outward and down, away from the joint between ledger and sheathing.
- Siding integration: Siding below the ledger butts tightly to the ledger or the spacer block, directing water away from the joint. Fiber cement requires specific spacing and sealing; vinyl siding requires different integration than hardboard.
- Inspection: All connections are inspected before decking covers the ledger area.
This sequence, done correctly, produces a ledger connection that holds in Seattle's climate. The keyword is "correctly" — each step has tolerance requirements, and errors in any step create the moisture infiltration path that leads to structural damage over time.
Siding-Specific Ledger Complications
Fiber cement siding (HardiePlank, Hardie Panel): The most common siding on King County homes built in the 2000s and 2010s. Fiber cement requires a specific cutback sequence that preserves the water-shedding function of the siding installation. Cut too close and you create an exposed edge that wicks moisture; cut too far back and you expose sheathing to weather. The correct sequence requires an experienced installer who knows fiber cement's specific requirements.
Stucco: Penetrating a stucco wall for a ledger connection is one of the highest-risk ledger scenarios in King County. Stucco is a three-coat system — scratch coat, brown coat, finish coat — with a weep screed at the base and control joints throughout. Cutting into stucco for a ledger creates an opening that must be flashed and sealed with absolute precision to prevent water migration behind the stucco at the cut edge. Errors in stucco flashing are invisible until the stucco begins to crack and separate from the substrate, which can take 5–10 years. On stucco homes, the case for freestanding construction is strong enough that we typically recommend it rather than attempting the ledger penetration.
Masonry veneer or brick: Attaching a ledger to masonry veneer requires penetrating into the masonry and through to the structural framing beyond it, with specific anchoring requirements. The flashing challenge is similar to stucco — any opening in masonry that isn't perfectly sealed creates a moisture infiltration point. Again, freestanding construction eliminates the problem rather than managing it.
Wood lap siding: The most straightforward ledger attachment of any siding type. Wood can be cut cleanly, flashed conventionally, and the ledger connection integrated with standard Z-flashing without the specialized knowledge required for fiber cement or stucco. On wood-sided homes with sound framing, attached construction is uncomplicated.
Vinyl siding: Vinyl can be cut cleanly but is softer and more prone to stress cracking at the cut edge than wood or fiber cement. Proper integration requires a freeze block at the siding cutback and specific J-channel or trim details to seal the cut edge. When done correctly, vinyl is a manageable ledger penetration. When done hastily, the vinyl edge separation creates a moisture entry point.
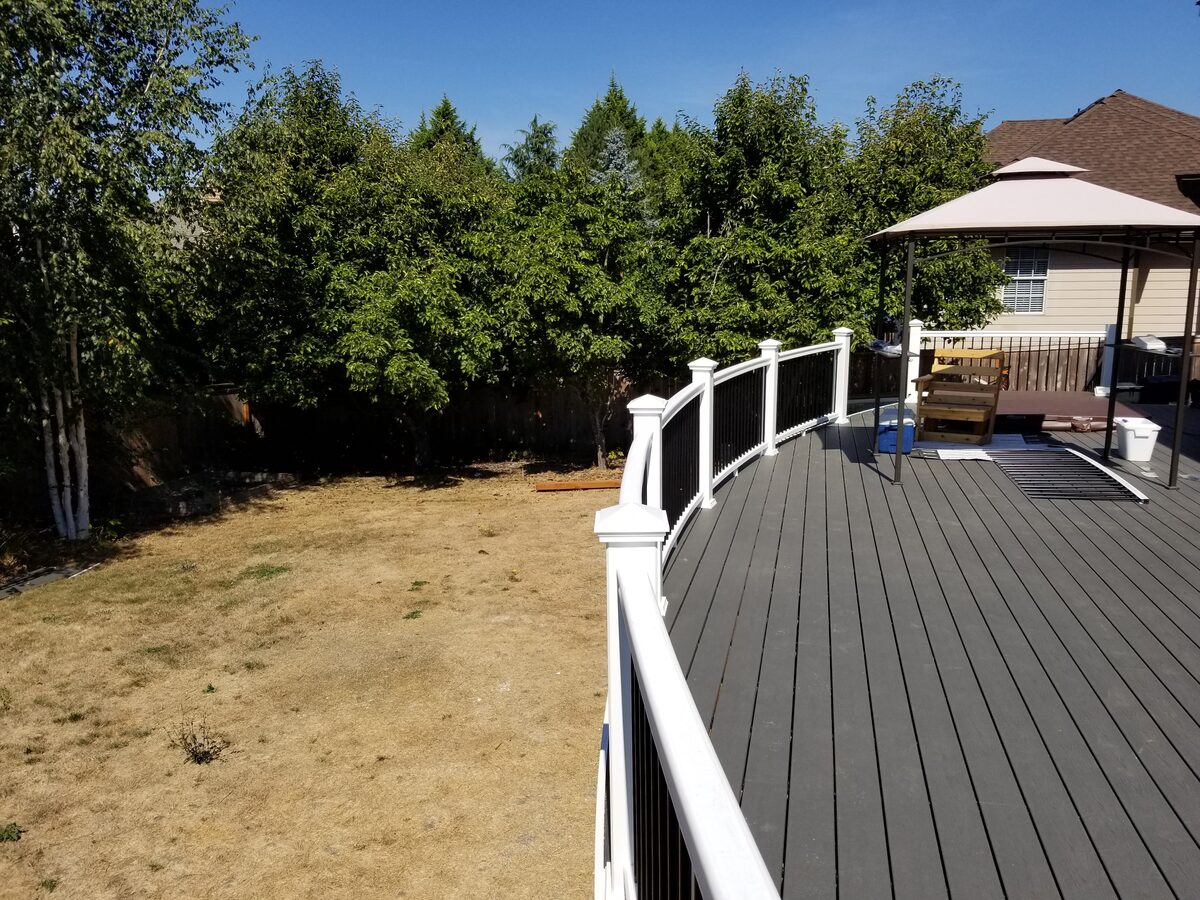
6 Conditions That Make Freestanding Construction the Right Call in Seattle
1. Home Built Before 1990
Pre-1990 construction in King County often has undersized rim joists (2×6 or 2×8 where current ledger attachment standards require 2×10 or 2×12), non-code flashing details from prior deck work, or OSB sheathing that has experienced moisture exposure over decades. Attaching a new ledger to a rim joist that's been supporting the house for 35+ years requires opening the wall to assess its condition — and if that assessment finds damage, the project scope expands significantly before the deck work begins.
Freestanding construction sidesteps the assessment entirely. We don't open the wall. We don't potentially uncover a remediation scope that wasn't in the budget. We build an independent structure that performs at the same level without the risk exposure.
2. Fiber Cement, Stucco, or Masonry Siding
These siding types require specialized ledger flashing sequences described above. An error in any of those sequences creates a moisture problem that may cost more to repair than the freestanding premium would have been. The calculus for homeowners with stucco or masonry especially is straightforward: freestanding eliminates the risk and costs less than stucco remediation.
3. Prior Deck with Visible Water Damage at the House End
If you're replacing an existing deck that showed soft spots near the ledger, darkened boards at the house end, or siding damage adjacent to the prior ledger connection, building freestanding is the right call. The damage you can see suggests the presence of damage you can't see — in the rim joist, the sheathing, or the blocking behind the siding. Attaching a new ledger to already-compromised framing is building on a weakening foundation.
4. Hillside Lot with Significant Grade Change
On steep lots where post heights on the downhill side reach 8–12 feet, the deck structure has a meaningful lateral load from wind and occupant movement. On an attached deck, some of that lateral load transfers into the house through the ledger connection. On some post-2000 construction homes with properly detailed shear connections, this is manageable. On older construction or on homes with flexible rim joist details, it can create additional stress at the ledger that increases the long-term risk. Freestanding construction distributes all lateral loads through the post system to the footings, without involving the house structure.
5. No Roof Overhang Above the Rear Wall
A roof overhang above the ledger connection provides meaningful protection from wind-driven rain. Without that overhang, the ledger area is subject to maximum weather exposure year-round — direct rain on the siding-to-ledger joint, driven by the prevailing southwest winds that dominate Seattle's wet season. On homes with flat rear walls and no overhang, freestanding construction dramatically reduces the long-term moisture management burden on the ledger detail.
6. Planning to Sell Within 5 Years
A properly built and flashed ledger connection on a well-suited home is fine at resale. A ledger connection with any evidence of water intrusion — soft wood, discolored siding, rust-streaking at fastener locations — is a disclosed defect that will be flagged in a home inspection and negotiated against. If you're in a home you plan to sell within five years, freestanding construction eliminates this risk category entirely.
4 Conditions Where Attached Construction Is the Better Choice
Attached decks are appropriate — and less expensive on a clean site — when:
1. Post-2000 construction with vinyl or newer wood siding in documented good condition. Sound rim joist, accessible framing, no prior deck work, no moisture history at the rear wall — this is the scenario where attached construction works well and the cost savings over freestanding are real.
2. Rim joist accessible and correctly sized. For attached decks, the rim joist behind the ledger attachment point must be sound, accessible, and correctly sized (typically 2×10 or 2×12 per structural requirements). When we can confirm this at the site visit, attached construction proceeds without complication.
3. A roof overhang provides weather protection above the rear wall. Overhang depth of 18 inches or more meaningfully reduces direct precipitation exposure at the ledger. Homes with a covered porch or wide eave extension above the deck connection point are better candidates for attached construction than flat-walled homes.
4. The site geometry strongly favors attached construction. Small yard footprints where additional house-side posts would interfere with existing landscaping, utility access, or setback limits may make attached construction preferable on site-geometry grounds even on older homes, with extra care taken on the ledger detail.
The cost savings for attached construction on a clean-site, well-suited home: 4–6 fewer posts and footings on the house side, translating to $1,500–$3,500 in materials and labor on a 300–400 sq ft deck. That's the true differential when no ledger complications arise.
Cost Comparison: Freestanding vs. Attached in King County
| Cost Factor | Attached Deck | Freestanding Deck |
|---|---|---|
| Ledger board, hardware, and installation | $800–$1,800 | None |
| Ledger flashing materials and labor | $400–$800 | None |
| Siding remediation (if needed) | $500–$3,500 | None |
| Rim joist repair (if needed) | $500–$2,500 | None |
| Additional posts (house side) | None | +$600–$1,800 |
| Additional footings (house side) | None | +$900–$2,500 |
| Frost-depth footing offset (code exemption) | None | -$400–$1,200 |
| Net cost, clean-site comparison | Baseline | +$1,000–$2,500 |
| Net cost, if ledger complications arise | +$2,000–$6,000 | Baseline |
On a clean, new-construction home, freestanding costs approximately $1,000–$2,500 more than attached. On a home where the ledger assessment reveals complications — siding remediation, rim joist repair, or non-standard flashing work — attached construction runs $2,000–$6,000 more than freestanding.
This cost relationship is why we always assess the ledger attachment point at the site visit before recommending a structural approach. We've seen homeowners commit to attached construction because it penciled out cheaper, then discover mid-project that the rim joist needed sistering and the siding needed replacement in the ledger zone — turning the "cheaper" choice into the more expensive one by a wide margin.
| Category | Value |
|---|---|
| Attached — clean site | $33,500 |
| Freestanding — clean site | $35,000 |
| Attached — with ledger complications | $38,500 |
| Freestanding — regardless | $35,000 |
Permit Requirements for Both Structure Types in King County
Both attached and freestanding decks require a building permit in Seattle if the walking surface is more than 18 inches above grade — the structural approach doesn't change the permit requirement. Seattle SDCI and King County DPER both apply this threshold.
The practical difference in the permit process:
Attached decks require a ledger connection detail in the structural drawings — the bolt pattern, flashing sequence, and rim joist specification must all be shown. SDCI plan reviewers examine ledger details carefully; an incomplete or non-standard ledger detail is a common cause of plan check corrections on attached deck permit applications.
Freestanding decks don't require a ledger detail, which simplifies the structural drawing package. On straightforward sites, this can slightly reduce plan check complexity. The footing schedule and post specification must still be shown, but the building-envelope penetration detail isn't required.
For both structure types, the same permit requirements apply: footing specifications, beam and joist sizing, post-to-beam connections, railing details, and stair specifications if stairs are included. We handle permit applications across all King County jurisdictions for both structure types. See our King County permit guide for full detail on the application process.
Note
Freestanding vs. Attached on Hillside Lots: An Additional Consideration
For Seattle homeowners on hillside lots — the significant population in Bellevue, Mercer Island, West Seattle, Queen Anne, Issaquah, and Sammamish — the freestanding vs. attached decision has a structural dimension beyond the moisture concerns that dominate flat-lot discussions.
On a hillside lot where the deck extends outward from the house over a dropping grade, the posts on the downhill side grow progressively taller as they step down the slope. On the house side, an attached deck uses the ledger — and the entire house structure — as the support for that edge of the deck. On a steep lot where the deck frame needs to transfer lateral wind and seismic loads, an attached ledger transfers some of those lateral forces into the house framing.
For post-2000 construction homes with properly designed shear connections, this lateral load transfer into the house structure is typically manageable. For older construction — homes built before modern seismic design requirements — transferring lateral deck loads into aging house framing can create stress at the ledger connection that exceeds what the framing was designed to handle.
A freestanding deck on a hillside lot resolves this differently: all lateral loads travel through the post system to the footings. The house framing isn't involved. On steep lots with significant lateral load — particularly the hillside properties in areas like West Seattle's Admiral District or Queen Anne's north slope, where prevailing southwest winds are substantial — this is a meaningful structural consideration in addition to the moisture-flashing concerns.
For hillside lots where the deck's house-side posts need to be 4–6 feet tall to meet the house floor elevation, freestanding construction is also structurally cleaner: those tall house-side posts are already engineered as a vertical column system, and not tying them to the house structure through a ledger preserves the structural logic of treating the deck as its own system.
See our complete hillside deck guide at /blog/hillside-deck-builder-seattle for the full structural and cost picture on elevated construction in King County.
What Good Ledger Flashing Looks Like on a Completed Project
For homeowners who have decided that attached construction is appropriate — after the site assessment confirms the ledger conditions are suitable — understanding what a quality ledger installation looks like helps you verify that the work was done correctly before it's covered by decking material.
Inspection Points Before Decking Is Installed
The ledger area should be fully visible before any decking boards go down, and this is the correct time to inspect the connection. What a correctly installed ledger looks like:
Flashing membrane: A self-adhering waterproofing membrane (typically butyl or rubberized asphalt tape) should be visible at the top of the ledger, running up behind the siding above and down over the ledger face. This membrane creates the primary water seal between the house and the ledger wood.
Z-flashing at the ledger top: A strip of metal Z-flashing should be visible at the very top of the ledger, tucked under the siding above and directing water outward over the ledger face.
Bolt pattern: Structural bolts (1/2 inch minimum diameter) should be visible at the prescribed spacing — typically 12 to 16 inches on center in alternating high-low pattern. The bolt heads should be countersunk into the ledger face and the holes sealed with waterproof sealant.
Siding cutback: The siding below the ledger should be cut cleanly, with the cut edge at least 1 inch above the deck surface to prevent moisture wicking up the siding-to-deck interface.
Standoff spacers: Many current ledger installation details use stand-off screws or clips to hold the ledger slightly away from the sheathing, allowing any infiltrating moisture to drain down and out rather than being trapped between the ledger and the wall. If your contractor uses this detail, the small standoff gap is visible and intentional.
If any of these elements are missing or appear improvised when you inspect before decking installation, raise the issue before the boards go down. Corrections are straightforward at this stage; corrections after the deck surface is installed require teardown of decking to access the ledger.
Tip
Maintenance Differences: What Each Approach Requires Long-Term
Once built and inspected, what does each approach require for long-term maintenance?
Attached Deck Maintenance
The ledger connection area is the primary long-term maintenance focus on an attached deck:
- Annual inspection of siding in the ledger zone for any paint bubbling, soft spots, or discoloration
- Annual visual inspection of the ledger top flashing, confirming the sealant at the flashing-to-siding joint is intact
- Any caulk or sealant at the ledger penetration points should be inspected every 2–3 years and replaced if cracking or separating
- Cleaning the debris channel at the ledger-to-siding gap annually to prevent leaf and organic debris accumulation that retains moisture
The decking surface maintenance depends entirely on the material — composite requires essentially no maintenance beyond cleaning; cedar requires biennial sealing or staining.
Freestanding Deck Maintenance
A freestanding deck has no ledger connection to maintain. The long-term maintenance focus is:
- Annual inspection of post bases for moisture accumulation and any evidence of decay at the post-to-concrete joint
- Inspection of the flashing or trim that bridges the gap between the house wall and the deck frame — this element doesn't carry structural load, but it keeps debris out of the gap and should be confirmed annually
- Same decking surface maintenance as an attached deck of equivalent material
The freestanding maintenance picture is slightly simpler because the highest-risk maintenance point — the ledger connection — doesn't exist. Post base inspection is a routine task that takes ten minutes annually.
For both structure types, the best long-term maintenance investment is the right material choice at the initial build. See our composite vs. cedar decking comparison for the full maintenance picture on material selection.
The HOA Consideration
HOAs in King County planned communities — Issaquah Highlands, Klahanie, Sammamish Plateau, and West Bellevue neighborhoods — typically don't distinguish between attached and freestanding construction in their architectural guidelines. Their review focuses on visible elements: deck height, setbacks from property lines, materials, and colors. The structural approach is generally the contractor's decision, not the HOA's.
What does matter to HOAs: any change in deck height or footprint that results from the structural approach. A freestanding deck that sits 2 inches lower than an attached deck due to the different structural geometry is a visible difference, and height limits apply regardless of structural type. We coordinate deck surface height at the design stage to meet HOA height requirements regardless of which structural approach is used.
HOA approval must come before permit application regardless of deck type. Our HOA deck approval guide covers the King County submission process in full detail.
Making the Right Decision for Your Home
The freestanding vs. attached decision is one of the first questions we answer at the site visit — and it's one of the questions where the site visit is genuinely irreplaceable. Looking at the rear wall of a house, assessing the siding condition, feeling the rim joist area through any accessible interior space, and looking at how a prior deck (if any) attached to the house gives us the information no satellite image or phone conversation provides.
Our recommendation process:
- Assess the rim joist access point: Is the framing sound and correctly sized for ledger attachment?
- Assess the siding type: Does it require specialized flashing work? Has it been penetrated before?
- Assess for prior moisture history: Any soft areas, discolored paint, or prior deck remnants at the ledger zone?
- Assess the slope: Does the lot grade affect the structural preference?
- Assess the overhang situation: Is the ledger position protected from direct precipitation?
Based on those five assessments, we make a specific recommendation — attached or freestanding — with the rationale clearly explained. On homes where both approaches are genuinely suitable, we present both with accurate pricing so the homeowner can make an informed choice. On homes where one approach is clearly superior for structural or moisture reasons, we say so directly.
Frequently Asked Questions
What is the difference between a freestanding deck and an attached deck?
Is a freestanding deck cheaper than an attached deck in Seattle?
Do I need a permit for a freestanding deck in Seattle?
What is ledger rot and why is it a concern in Seattle?
What siding types are most problematic for attached deck ledger connections?
Does Washington State allow freestanding decks to have shallower footings than attached decks?
How do I know if my home is a good candidate for an attached deck?
Does a freestanding deck need to be a certain distance from the house?
What happens at the connection between a freestanding deck and the house door?
Is a floating deck the same as a freestanding deck?
Do freestanding decks require the same railing and code compliance as attached decks?
Can The Seattle Decking Company build both freestanding and attached decks?
The Right Answer Starts With a Site Visit
There is no universal answer to the freestanding vs. attached question for Seattle homes. The right answer depends on your specific home's construction, siding, rear-wall condition, slope, and framing — information that requires a site visit to assess accurately.
We visit sites before quoting, assess the ledger attachment point honestly, and give you a clear recommendation with the reasoning explained. If attached construction is right for your home, we'll build a correctly flashed, fully permitted attached deck that will perform for decades. If freestanding is the better call — because of your siding type, your framing condition, or your site geometry — we'll explain why and build you a structure that eliminates the risk category entirely.
Either way, you'll get a line-item quote, a permit-managed project, and a written workmanship warranty from a contractor who's been building King County decks for 15 years. We don't push one structural approach over the other — we build what the site and your home require, and we explain the reasoning clearly so you understand the decision you're making.
Call (425) 675-6259 or reach out through our contact page to schedule a site visit. We build throughout King County — Seattle, Bellevue, Kirkland, Sammamish, Issaquah, Renton, Mercer Island, and beyond. Most site visits can be scheduled within a week.
See also: Deck costs in King County | Composite vs. cedar decking | HOA deck approval | King County permit guide
Planning a deck in the Seattle area?
Get an onsite design review and a clear, itemized quote from a licensed local builder.
Request a Free Quote