
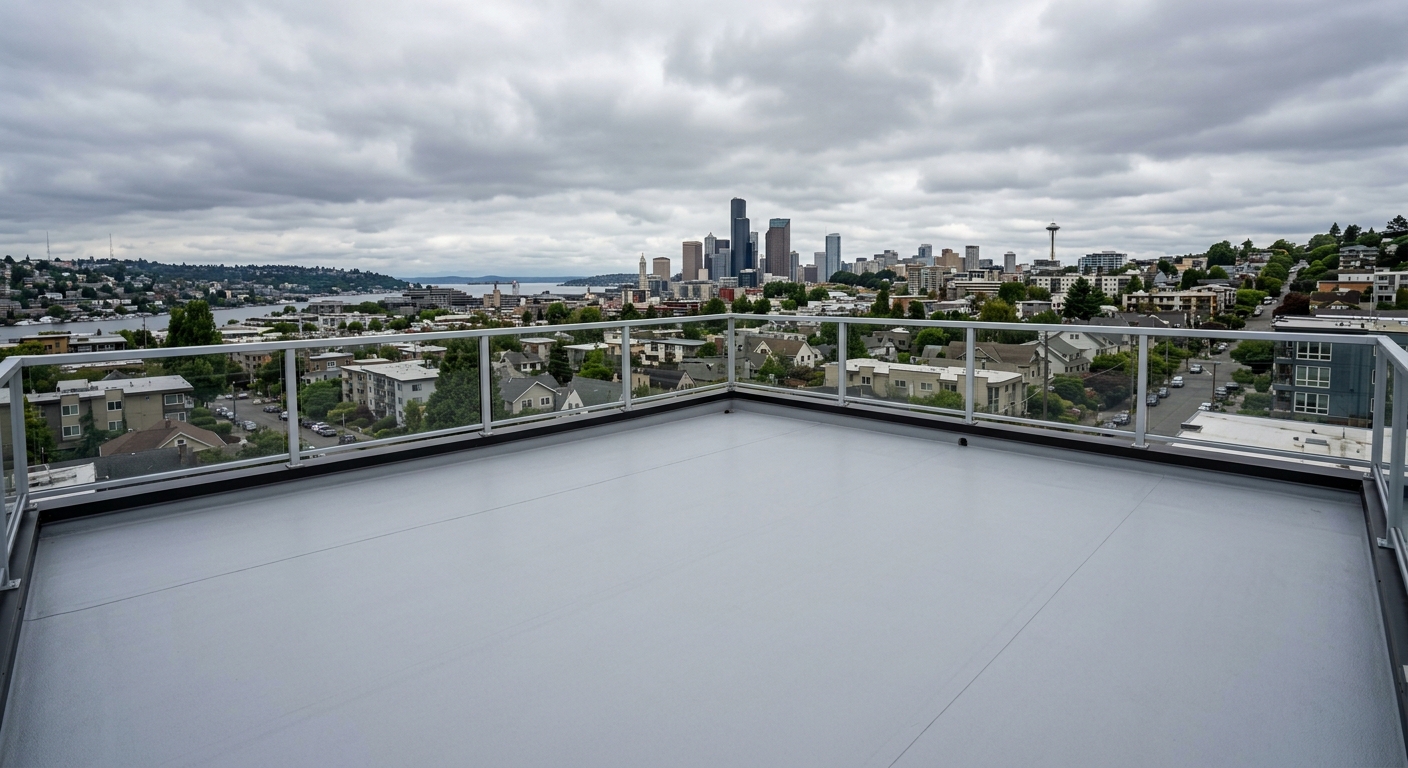
If you have an elevated deck in King County and the space beneath it is a muddy, wet storage zone you avoid nine months of the year, you're experiencing one of the most common and most fixable problems in Seattle outdoor living. Under-deck drainage systems intercept rainwater before it reaches the ground below your deck — turning what's currently a wet, unusable area into a dry, covered outdoor space that functions 365 days a year. In Seattle's climate, where 37–38 inches of annual rainfall falls predominantly between October and April, that conversion represents a meaningful increase in usable outdoor square footage.
This guide covers every type of under-deck drainage system available in King County, what each costs in Seattle's labor market, which applications each is suited for, and what you need to know before adding one to your existing deck or integrating one into a new build. We've installed drainage systems on elevated decks throughout King County — Seattle, Bellevue, Kirkland, Mercer Island, West Seattle, and the Eastside hillside neighborhoods where elevated decks are most common — and this guide reflects what we've learned from those projects.
Why PNW Rain Makes This Different Than a National Guide
Most under-deck drainage content is written for homeowners who get summer afternoon thunderstorms — intense but brief, followed by sunny drying periods. Seattle's rainfall pattern is the opposite: persistent, gentle, sustained precipitation that keeps everything wet for weeks at a stretch without ever delivering the intensity that natural drainage handles easily.
The practical consequences for the under-deck space:
No drying cycles. In a climate with sunny periods between rains, the under-deck ground partially dries between events. In Seattle's October-through-April wet season, there may be no meaningful drying for weeks or months. Furniture, stored items, and the soil itself remain continuously saturated. Without drainage interception, you're not dealing with occasional wet patches — you're dealing with a perpetually damp zone.
Lateral water. Seattle's rain sometimes falls at an angle in sustained wind-driven events. A standard trough-and-downspout drainage system designed for vertical rainfall may underperform in wind-driven conditions. Premium ceiling panel systems and joist-top membranes handle lateral moisture better because they intercept water at the substructure level rather than relying on geometry to redirect angle-driven rain.
Moss and biological growth. Continuously moist, shaded soil under a deck in King County actively grows moss, algae, and mold on any organic surface within a few seasons. Under-deck drainage systems that also address the ground-level condition — not just the overhead drip — make the space genuinely usable rather than just technically drier.
Year-round use potential. Seattle's climate is mild enough that outdoor spaces are usable year-round if protected from rain. A dry covered under-deck area at 45°F in November is genuinely pleasant with a space heater and a comfortable chair. Without drainage, that same space at 45°F in November is a wet storage zone. This is the quality-of-life case for under-deck drainage in the Pacific Northwest: it converts a seasonal-use deck into a year-round outdoor living asset.
Two Types of Under-Deck Drainage Systems
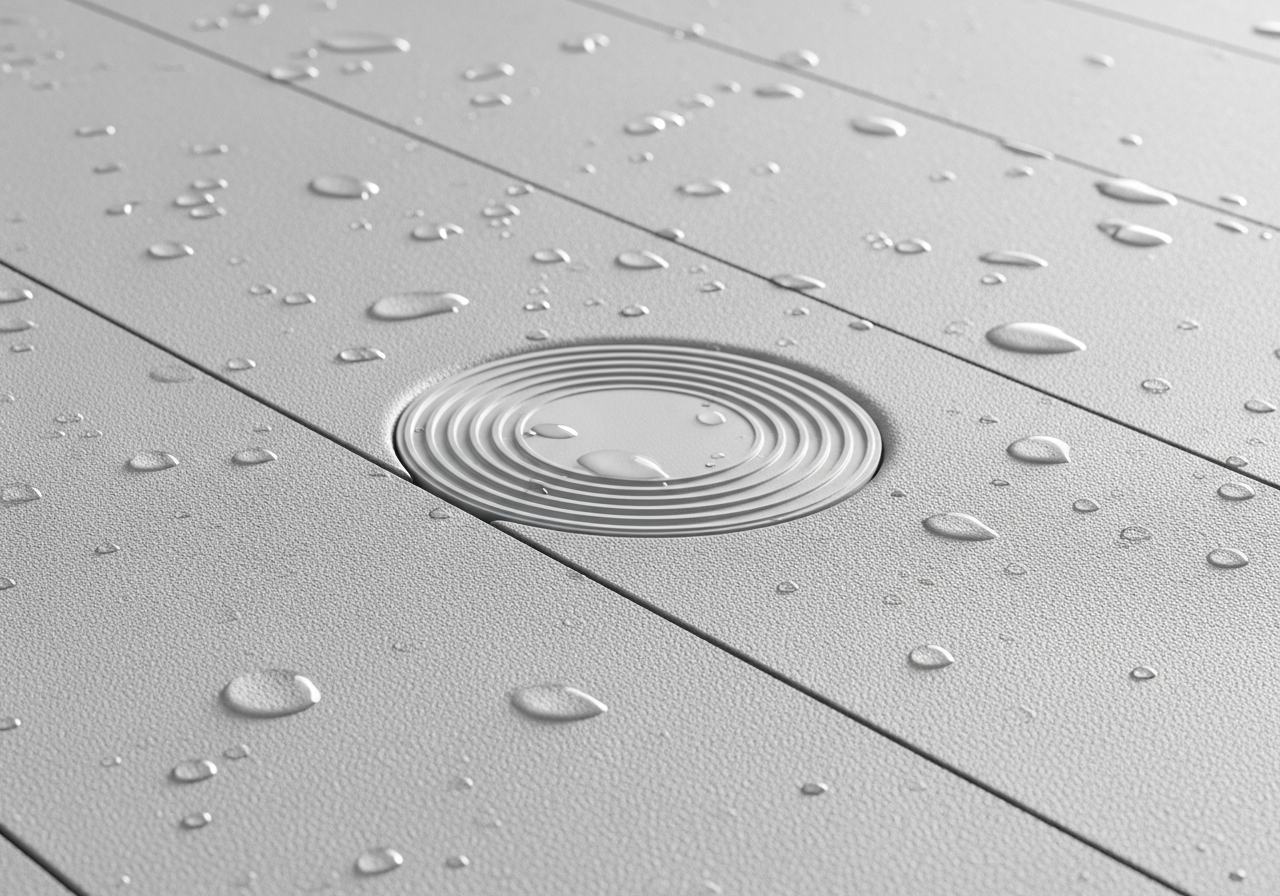
Every under-deck drainage system solves the same problem by intercepting rainwater before it reaches the space below. The two main approaches differ fundamentally in where that interception happens and what installation timing they require.
Type 1: Joist-Top Membrane Systems
A waterproof membrane — typically PVC sheet waterproofing or EPDM rubber — is installed directly on top of the deck joists before the decking boards are laid. Water that seeps between deck boards hits the membrane surface, flows by gravity toward integrated perimeter drainage channels, and exits through downspouts at the outer rim of the deck structure. The deck surface above looks completely standard. The waterproofing is entirely concealed within the structure.
This is the system we specify for new elevated deck builds in King County where creating a dry under-deck space is a project goal. The performance in PNW conditions is the best available because the waterproofing is positioned at the highest interception point — at the joist level — rather than somewhere below. Water never has the opportunity to find paths around or between components; the membrane creates a continuous waterproof plane that covers the entire under-deck area.
Performance in sustained PNW rain: Excellent. Because the membrane covers the full joist surface and channels water to perimeter drains, even hours of sustained rainfall and wind-driven events are handled without breakthrough. This is the most reliable system for Seattle's persistent rain patterns.
The tradeoff: Joist-top systems require installation during deck construction or full board replacement. You cannot add this system to an existing deck without removing every deck board. For homeowners building a new elevated deck or in the process of replacing all boards on an existing structure, this is a clean decision. For homeowners with a structurally sound existing deck who want to add drainage capability, this system requires more significant disruption.
Common membrane products: PVC waterproofing membranes, EPDM sheet products, and purpose-built deck waterproofing systems like those used in commercial rooftop applications. The perimeter channel and downspout components are integrated with the membrane system and specified as part of the assembly.
Finished ceiling option: Joist-top membranes waterproof the structure but don't create a finished under-deck ceiling by themselves. Homeowners who want a finished overhead appearance add a separate tongue-and-groove or panel ceiling system below the joists after the membrane is installed. This adds $8–$14/sqft to the installed cost but creates a genuinely furnished patio-grade outdoor space rather than an exposed-framing utility area.
Type 2: Ceiling-Mounted Panel Systems
Aluminum or vinyl panels attach below the deck joists on a pitch-frame structure, directing water toward a built-in perimeter gutter that collects it and routes it to downspouts at the deck edge. The system installs entirely from below the deck — the deck surface above is untouched.
This approach is what makes drainage retrofits possible on existing elevated decks. If your elevated deck is structurally sound — joists in good condition, no rot at the ledger connection, deck boards performing normally — a ceiling panel system can be added without removing a single deck board.
Common ceiling panel systems range from simple vinyl trough kits designed for DIY installation (like the Trex RainEscape system, which mounts above existing boards and funnels water to a trough below) to contractor-installed aluminum soffit panel systems that create a fully finished overhead ceiling with integrated gutter and downspouts.
Trex RainEscape: A trough-and-downspout kit that installs between the existing deck joists (requiring limited under-deck access) and funnels water dripping through deck board gaps into a collection trough that routes to a downspout. This system can be installed without removing the deck boards, making it the most accessible retrofit option. It works well for moderate rainfall and standard board spacing. In Seattle's heaviest sustained events, performance is good but slightly below full-coverage panel systems, particularly on older decks where board spacing has widened over time.
Contractor-installed aluminum panel systems: Full soffit panel systems installed below the joist structure on a pitch frame, with an integrated perimeter gutter and downspout system. The finished appearance is essentially a covered patio ceiling — the under-deck area looks like a room with a ceiling, not an exposed deck understructure. Performance in heavy PNW rain is very good; the continuous panel coverage handles more rainfall volume than trough-channel systems.
Best for: Existing elevated decks in good structural condition where the homeowner doesn't want to remove the existing deck boards. Also the correct specification when a finished ceiling appearance is a priority — aluminum soffit panel systems create an aesthetically complete outdoor room below the deck.
Tip
System Comparison at a Glance
| Feature | Joist-Top Membrane | Ceiling Panel System (Aluminum) | Trough Kit (RainEscape) |
|---|---|---|---|
| Installation timing | During new build or full board replacement | Can add to existing deck | Can add to existing deck |
| Rain performance (Seattle) | Excellent | Very Good | Good |
| Finished ceiling included | No (add separately) | Yes | No |
| Installed cost — King County | $15–$25/sqft | $25–$42/sqft | $12–$20/sqft (DIY range) |
| DIY feasibility | Low | Moderate | Higher |
| Access requirement | Top-down (during build) | Bottom-up access | Between-joist access |
| Lifespan | 30–40+ years (EPDM) | 15–25 years (aluminum) | 10–15 years (vinyl) |
| Permit typically required | Included in deck permit | Yes (structural ceiling) | Varies by jurisdiction |
What Under-Deck Drainage Costs in King County
Seattle's construction labor market runs 15–25% above national averages. That premium applies to under-deck drainage installation.
Per square foot of under-deck area. Does not include finished ceiling addition below membrane systems or ground-level hardscape. All pricing reflects King County labor market.
| Category | Value |
|---|---|
| Trough kit (DIY/basic) | $15 |
| Joist-top membrane (new build) | $20 |
| Ceiling panel system (aluminum) | $32 |
Joist-top membrane systems: $15–$25 per square foot installed in King County. This includes membrane material, perimeter drainage channels, and downspout integration. On a 300 sqft under-deck area, budget $4,500–$7,500. This pricing assumes installation during new deck construction; retrofitting to an existing deck requires full board removal and reinstallation, which substantially increases total project cost.
Ceiling-mounted aluminum panel systems: $25–$42 per square foot for a complete contractor installation — panels, pitch frame, perimeter gutter, and downspout system. On a 300 sqft under-deck area: $7,500–$12,600.
What pushes cost higher in King County:
Non-rectangular deck footprints increase cost significantly. L-shaped, octagonal, and curved deck configurations require custom panel cutting and more complex gutter geometry. Add 20–35% to the base estimate for complex footprints.
Deck height affects access and scaffolding requirements. Under-deck installations at clearances above 10 feet typically require scaffolding or lift equipment, adding $800–$2,500 to a typical project.
Downspout routing on hillside lots requires careful planning. Bellevue, Issaquah, and Mercer Island properties often have limited flat routing paths for downspouts; routing around landscaping, hardscape, or into existing drainage systems adds complexity.
Adding a finished wood or composite ceiling below a joist-top membrane: $8–$14/sqft additional for materials and installation. This turns the waterproof but unfinished structure into a genuine patio-ceiling aesthetic.
Permit fees vary by jurisdiction. Most King County municipalities require permits for structural ceiling additions beneath existing decks. We verify permit requirements for each project and include permitting in our process.
Structural Requirements Before You Add a System
Not every elevated deck is ready for an under-deck drainage system without some preliminary evaluation. Before we specify any drainage system on an existing deck, we assess:
Ledger connection and rim joist condition. The ledger is where the deck structure meets the house. If ledger flashing has failed — common on older Seattle decks — moisture may be infiltrating the house framing even before you add a drainage system. A drainage system that routes water toward a compromised ledger connection can make an existing problem worse. We verify ledger condition as part of any under-deck drainage consultation.
Joist spacing and span. Ceiling panel systems add weight to the joist structure. Most existing joists sized for residential deck loads handle the additional weight of aluminum panel systems without structural modification, but joist spans and sizes vary by original permit design. For decks with non-standard joist sizing or wider spans, we verify load capacity before recommending a ceiling system.
Existing deck board condition. If the deck boards above are approaching end-of-service — significant mold growth, soft spots, failed fasteners, extensive cupping or cracking — the drainage system conversation often expands into a broader deck renewal discussion. Adding a drainage system below a deck that needs board replacement within 2–3 years is inefficient; we typically recommend coordinating both projects.
Ground drainage at the perimeter. An under-deck drainage system captures water that would have fallen in that space and concentrates it at the deck perimeter via downspouts. If the ground at the deck perimeter already has drainage problems — low spots that pond, clay soils with poor permeability — concentrating additional downspout discharge there can worsen an existing water management issue. Proper drainage design addresses where captured water goes after it exits the system, not just how it gets captured.
Important
Grade and Ground-Level Design: The Part Most Guides Skip
The under-deck drainage system handles water captured at the deck level. Equally important — and often omitted from under-deck drainage discussions — is how that captured water is managed at ground level.
A typical 300 sqft joist-top membrane or ceiling panel system captures and concentrates all precipitation that falls on the deck area into 2–4 downspout discharge points. If those discharge points dump directly onto poorly drained soil or toward the house foundation, you've moved the water problem rather than solved it.
Downspout extensions and routing. Downspouts should route captured water well away from the structure — ideally to a dry creek bed, French drain, existing storm drain connection, or the downhill side of the property. In King County, routing runoff toward the street is acceptable in most jurisdictions; routing it toward a neighbor's property is not.
Ground surface preparation. Creating a genuinely useful under-deck living area requires more than waterproofing the overhead. The ground surface — typically bare compacted soil with accumulated debris — benefits from:
- Grading for positive drainage (1–2% slope away from the house)
- Weed barrier fabric to prevent vegetation growth
- Compacted gravel or concrete pavers as a finished surface
- Optional perimeter French drain if surrounding soil drainage is poor
Budget $6–$18/sqft for ground-level hardscape preparation below the under-deck area, depending on finish level. Compacted gravel is the low end; pavers with a proper base and edge restraint are mid-range; concrete flatwork is the high end.
Tree root considerations. Some King County elevated decks are built around or adjacent to large trees. Root zones around significant trees may not be suitable for impervious hardscape — check with an arborist before installing concrete or impermeable paving under trees whose root zones are within the deck footprint.
Note
DIY vs. Contractor Installation: An Honest Assessment
Some under-deck drainage systems are marketed for DIY installation. Here's an honest evaluation of what DIY makes sense for in Seattle's context:
Trough kit systems (Trex RainEscape, similar): Moderately DIY-accessible. The installation involves cutting vinyl troughs to fit between deck joists, attaching them to the joist underside, and routing to a downspout. Many handy homeowners can complete this with basic tools and a ladder. The limitations in Seattle: performance in heavy sustained rain is lower than full-coverage systems, and any installation errors that create gaps or incorrect pitch result in leaks into the under-deck space — which is exactly what the system was supposed to prevent.
Aluminum ceiling panel systems: Not a good DIY project for most homeowners. The pitch frame installation, custom panel fitting, perimeter gutter integration, and downspout routing require carpentry skills and tools that most homeowners don't have, and mistakes are difficult to correct without complete reinstallation. The finished ceiling aesthetic — the primary advantage of this system type — is only achieved with tight, level installation that's difficult to accomplish without experience.
Joist-top membrane systems: Professional installation only. These systems install during deck construction and require proper membrane lapping, seal tape at seams, perimeter channel integration, and coordination with deck board installation that requires construction experience and sequencing knowledge.
Permit implications for DIY: King County and most incorporated cities require permits for structural ceiling additions beneath decks. DIY-permitted projects are allowed in most jurisdictions for homeowners working on their own property, but the inspection requirement is real — the work must meet code standards regardless of who installs it. We recommend consulting with your jurisdiction's building department before beginning any under-deck installation to verify permit requirements.
Key insight
Under-Deck Space Design Ideas for King County Homeowners
Once the drainage system is in place, what are you creating?
Outdoor dining room. Covered, dry, protected from rain but open on the sides for air circulation. A table for eight, string lights, and a portable heater makes this a year-round Seattle dinner-party space. The under-deck "ceiling" height — 8–14 feet on most King County elevated decks — is plenty for comfortable dining.
Outdoor lounge and entertainment area. Couch, chairs, a coffee table, and a weather-resistant TV or sound system. The covered protection of an under-deck space makes this more appropriate for quality weather-resistant furniture than a fully exposed deck surface — your outdoor furniture investment actually lasts.
Workshop or storage area. Less glamorous but genuinely useful. Protected storage for landscaping equipment, seasonal gear, kayaks or paddleboards (common in Lake Washington adjacent neighborhoods), and tools. Concrete or gravel ground surface, a few shelving units, and good access lighting.
Hot tub shelter. An under-deck space with 8+ feet of clearance and a dry covered overhead is an excellent hot tub location. The overhead protection extends hot tub usability into cold-weather months, and the drainage system prevents the moisture accumulation that uncovered hot tub areas suffer. Electrical and plumbing planning should be integrated into the drainage system design.
Covered parking or bike storage. On properties where the elevated deck faces the driveway or side yard, the under-deck area occasionally doubles as covered car or bicycle parking. This requires careful ground-level surfacing design and, for vehicle access, potentially a curb cut — but it's a legitimate Seattle use case.
Permits and Code Requirements for Under-Deck Drainage in King County
Permit requirements vary by jurisdiction and by system type.
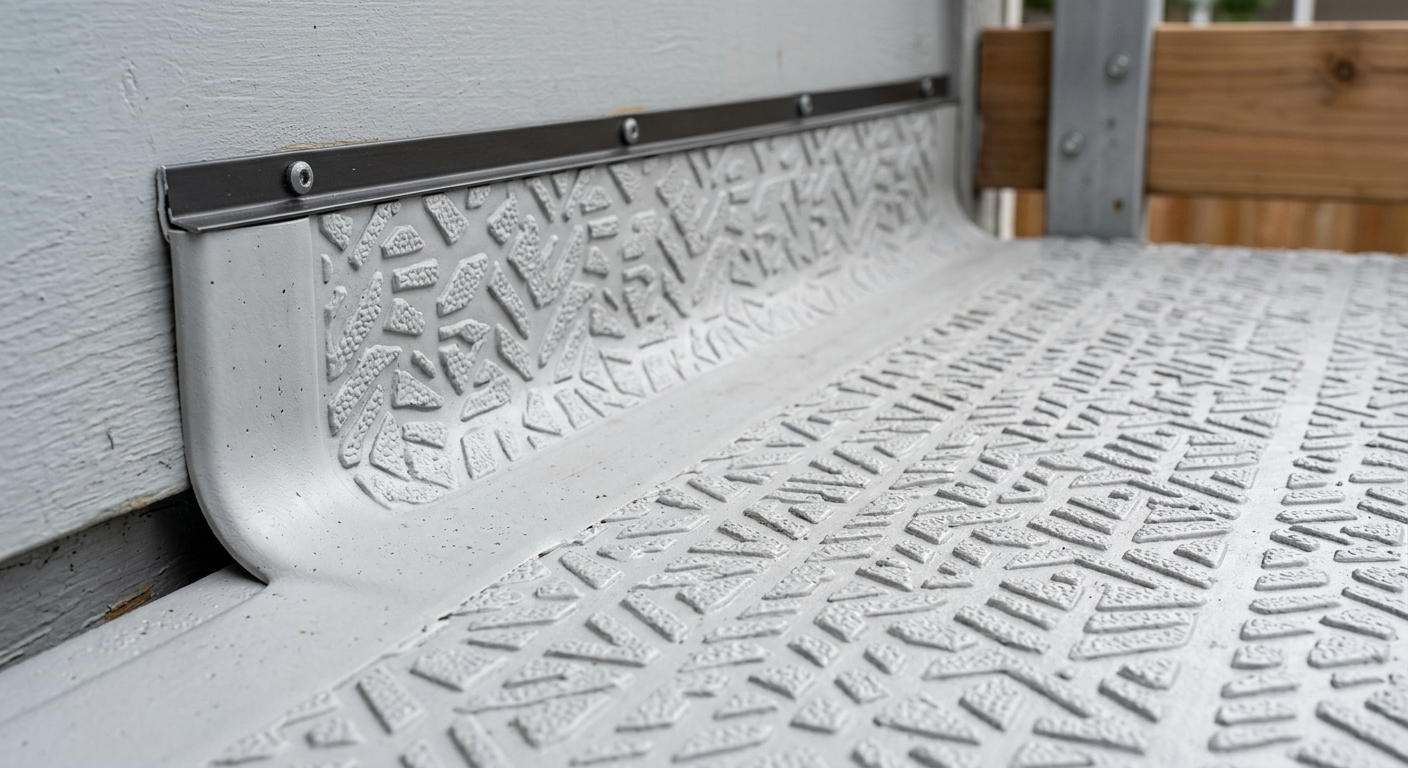
For new deck builds: The deck permit covers the structural work. If the joist-top membrane and drainage system is included in the original permit drawings, it's inspected as part of the deck. This is the cleanest approach — no separate permit required.
For retrofit drainage systems on existing decks: Most King County jurisdictions consider a structural ceiling addition under an existing deck to be a new structure requiring its own permit. This applies to contractor-installed ceiling panel systems with structural framing components. Vinyl trough kits that attach only to existing joist structure without adding new structural elements may qualify for over-the-counter permits or permit exemptions in some jurisdictions — verify before starting.
Seattle SDCI: Seattle's Department of Construction and Inspections processes under-deck ceiling additions as permit-required work. For projects in the City of Seattle, verify with SDCI whether your specific system type requires a permit. STFI (Subject to Field Inspection) permits are available for simpler structural additions.
King County unincorporated areas and other cities: King County Department of Local Services handles permits for unincorporated areas. Bellevue, Kirkland, Redmond, and other incorporated cities have their own permit offices. We handle permit applications for all jurisdictions we work in as part of standard project management.
FAQ
Frequently Asked Questions
Does Seattle rain actually make under-deck drainage worth the cost?
What's the difference between a joist-top membrane and a ceiling panel system?
Can I add under-deck drainage to my existing elevated deck without replacing the boards?
How much does under-deck drainage cost in Seattle?
Do I need a permit for under-deck drainage in King County?
Will an under-deck drainage system handle Seattle's wind-driven rain?
What should I put on the ground under the drainage system?
How long does an under-deck drainage system last in Seattle?
Can under-deck drainage support a hot tub?
Is DIY installation of an under-deck drainage system reasonable?
Does the drainage system also stop condensation from forming on the under-deck structure?
Make the Space Below Your Deck Work for You
The under-deck drainage conversation isn't about a product upgrade — it's about whether your elevated deck delivers one outdoor living space or two. In Seattle's climate, that second space only becomes real with a system that manages the rainfall problem that naturally occurs when you're under a raised deck in King County for six months of the year.
We've installed joist-top membrane systems on new elevated deck builds and ceiling panel retrofit systems on existing structures throughout the Eastside and Seattle neighborhoods. The site assessment — deck structure, clearance, ground conditions, and homeowner priorities — determines which system makes sense.
Call (425) 675-6259 or request a free assessment. We'll look at your specific elevated deck, tell you which system fits your structure and goals, and give you an honest number for what it costs to make that space work year-round.
Enclosing the Under-Deck Space: Lattice, Walls, and Screening Options
A drainage system creates a dry overhead. What you do with the sides of the under-deck space determines how fully functional it becomes as an outdoor room versus simply a protected utility area.
Open sides (no enclosure): The most common and lowest-cost option. The drainage system handles rain from above; the sides remain open to airflow and ambient conditions. Excellent for storage and utility use. For furniture and living use, wind-driven rain on exposed sides can still affect comfort during heavy weather events.
Horizontal cedar or composite slat screening: Horizontal screens on the exposed sides of the under-deck space provide weather protection without eliminating airflow. Cedar slats or composite slat systems (Trex, Fiberon, and AZEK all have compatible trim board products) create a clean contemporary appearance and can be designed for partial or full privacy. In King County, horizontal slat screening that allows 40-50% open area provides weather protection in most rainfall conditions while maintaining the airflow that keeps the under-deck space from becoming humid and stale.
Lattice: Traditional lattice screening is a common approach but a relatively poor performer in Seattle's sustained wet climate. The intersections trap debris and moisture, and the small grid openings reduce air circulation more than slat screening does. Vinyl lattice outperforms wood lattice in moisture resistance, but both types are lower durability choices than modern composite alternatives.
Cable-panel or metal screen systems: Contemporary metal or cable screen panels on the perimeter give the under-deck space an architectural finish. Powder-coated aluminum screen panels are durable, low-maintenance, and available in colors that coordinate with deck board and railing selections. For higher-design projects — Mercer Island properties, contemporary Bellevue hillside builds — metal screening often fits the design language better than lattice or wood slat options.
Bi-fold or sliding glass panels: For maximum weatherproofing and year-round usability, glass panel systems on the perimeter — similar to commercial patio enclosures — can completely close the under-deck space for winter use and open fully in summer. This approach approaches the full outdoor room concept and allows heating for cold-weather use. It also requires the most planning, permitting review for enclosed structures, and investment. Budget $80–$150/linear foot for contractor-installed glass panel enclosure systems.
Tip
Heating Under-Deck Spaces in Seattle's Climate
One of the most significant advantages of a covered under-deck space in King County is its year-round usability — but "usable" depends on managing temperatures, not just rain.
Seattle's winter temperatures (average 38–47°F) are mild enough that portable space heaters make uncovered outdoor spaces reasonably comfortable. Under-deck spaces, with their ceiling and at least partial side enclosure, retain heat better than fully exposed outdoor areas, meaning a smaller heating solution achieves the same comfort level.
Electric infrared heaters: Wall or ceiling-mounted infrared heaters (typical units draw 1,500–4,000 watts) are the most common under-deck heating approach in Seattle. They heat occupants directly rather than heating the air, which makes them effective even with partially open sides. Installation requires a dedicated electrical circuit — typically 240V for higher-output units — that should be planned for when the drainage system is installed if a ceiling system creates mounting opportunities. Cost: $400–$1,200 per unit for outdoor-rated fixtures, plus electrical rough-in.
Natural gas or propane heaters: Freestanding patio heaters using propane are the lowest-installation-cost option but require propane storage and refilling. Permanently piped natural gas heaters — plumbed from the house — are more convenient but require gas line extension and permitting. For under-deck spaces with full perimeter enclosure, natural gas or propane combustion heaters require adequate ventilation to prevent CO accumulation; verify with your HVAC contractor before specifying any combustion heater in an enclosed or semi-enclosed outdoor space.
Radiant floor heat in the hardscape: For under-deck spaces with concrete hardscape, in-slab radiant heat tubing is an option during concrete placement. Hydronic (water-based) radiant systems require a heat source connection; electric mat systems are simpler to install. This is the most comfortable heating option and the least visible — no visible heating elements or fixtures — but it's only feasible during initial hardscape installation, not retrofittable to existing concrete.
Under-Deck Drainage and Electrical: Planning for Year-Round Usability
Electrical infrastructure is the most commonly under-planned aspect of under-deck space conversion. Getting it right requires thinking about the full range of uses at the planning stage, because adding electrical to a finished under-deck space is more costly and disruptive than including it during the drainage system installation.
Receptacles: Plan for outdoor-rated GFCI-protected receptacles on at least two perimeter walls of the under-deck space. Minimum recommendation: four to six receptacles total for a 300 sqft space, distributed around the perimeter. String lights, appliances, televisions, and portable heaters all need power that extension cords from the house can't properly or safely supply.
Outdoor ceiling fan/light combination: Under-deck ceiling fan fixtures designed for damp or wet locations provide cooling airflow in summer and light year-round. A ceiling fan in a 300 sqft under-deck space with good overhead clearance is one of the highest-comfort-per-dollar additions to this space. Verify the fixture rating — outdoor fans are rated "damp location" (protected from direct rain contact) or "wet location" (can be directly exposed to rain); for under-deck applications where the ceiling system provides protection, damp-location rating is typically appropriate.
Television and AV: Outdoor-rated televisions designed for covered outdoor spaces are available in sizes from 43" to 85". If your under-deck space will include entertainment electronics, plan a dedicated TV circuit, appropriate conduit for HDMI or signal cabling, and a mounting location that's protected from any wind-driven rain that enters the sides. A dedicated AV circuit (separate from the general receptacle circuit) prevents nuisance tripping on shared circuits.
Landscape lighting integration: Low-voltage LED landscape lighting around the perimeter of the under-deck space, path lighting in the hardscape, and step lighting on any stairs leading down to the space are cost-effective ways to extend usability into evening hours. Low-voltage landscape systems typically operate from a 120V transformer, require a single receptacle, and can be installed after the drainage system is complete without difficulty.
Under-Deck Drainage in the Context of Your Whole Outdoor Space
Under-deck drainage doesn't happen in isolation — it's one component of an outdoor living investment that typically includes the deck above, any landscaping at the deck perimeter, and the hardscape or patio space at grade level. Designing all of these elements to work together from the beginning avoids the common situation where each element is adequate individually but creates unintended problems in combination.
Deck drainage and downspout integration. The drainage system captures water from the deck area and concentrates it at downspout discharge points. Where those downspouts discharge should be coordinated with any adjacent patio or hardscape design. Discharging onto permeable gravel is ideal. Discharging onto an adjacent concrete patio will stain the concrete and potentially accelerate deterioration at the edge if drainage patterns aren't managed.
Deck board gap and spacing. The performance of ceiling-mounted drainage systems depends on water falling through deck board gaps to be intercepted by the panel system below. Deck boards installed at standard gap (typically 3/16" for composite) allow adequate drainage flow to the panel system. If deck boards are ever replaced or additional boards are added to an existing deck with a panel system below, maintaining proper gap spacing is important for drainage system function.
Landscape grading and the deck perimeter. The transition between the under-deck hardscape and the surrounding landscape should slope positively away from the structure. Negative grading — ground that slopes toward the deck structure — channels surface water toward the footings and foundation, creating a separate moisture management problem that the drainage system above doesn't address.
Stair design and access. The under-deck space needs convenient access, and that access should be designed into the deck and hardscape as a system rather than as an afterthought. Stairs from the deck level to the under-deck patio, or direct access from the yard at grade level, both work — the question is which approach fits the site geometry and how the under-deck space will actually be used. We design access routes as part of any under-deck drainage project where significant hardscape improvement is in scope.
Comparing Systems by Seattle Application Type
Different King County properties have different needs. Here's a fast-reference guide to which drainage system fits each scenario:
| Scenario | Recommended System | Why |
|---|---|---|
| Building a new elevated deck, 8+ ft clearance | Joist-top membrane — integrate during build | Lowest cost, highest performance when timed with construction |
| Existing deck with sound boards, want dry space below | Ceiling panel — aluminum soffit system | Retrofit without disturbing deck above |
| Hillside Bellevue/Issaquah property, high clearance | Ceiling panel system with engineered downspout routing | High clearance properties benefit most; downspout routing needs attention on hillside lots |
| Budget-focused existing deck project | DIY trough kit (Trex RainEscape) | Acceptable performance for typical PNW rain at lowest upfront cost |
| West Seattle hillside, view property | Joist-top membrane during board replacement | Often board-replacing anyway; integrate membrane for long-term solution |
| Full outdoor room vision (floor, ceiling, walls) | Joist-top membrane + finished ceiling panels + pavers | Full system during deck build; most efficient integrated approach |
| Storage-use only, basic coverage | Trough kit or basic ceiling panel | Storage use doesn't require premium system performance |
Seattle-Specific Design Details We Build In
After years of installing under-deck drainage throughout King County, here are the details our clients most often ask about after seeing our projects:
Leaf Guard Gutter Protection
Big-leaf maple — the dominant deciduous tree in most of Seattle's residential neighborhoods — drops enormous quantities of leaves in October. A deck with trees above will have a full gutter channel within days of peak leaf drop without protection. We install micro-mesh leaf guards on all perimeter gutter channels as a standard inclusion on any project with significant deciduous tree canopy nearby. The five-minute annual check to clear the few items that get through a leaf guard is dramatically less work than cleaning an unprotected channel every October.
Drainage Volume Calculations
A 400 sq ft deck surface in a single inch of rain delivers roughly 250 gallons of water to the drainage system. King County can see 0.5–1 inch of rain in a 24-hour period multiple times per year during the wet season. A properly sized system needs to route 125–250 gallons per 24-hour period without backing up. We size downspout capacity to handle Seattle's 100-year-event rainfall intensity — the design storm scenario that ensures the system performs in the worst conditions it's likely to encounter.
Frost Line and Downspout Routing
Seattle's frost line is shallow — approximately 12 inches — but outdoor drainage pipes can still freeze in extended cold snaps in January and February. For buried downspout connections, we install pipes at or below frost line to prevent freeze-blocking at the worst time of year (Seattle's coldest months are January and February, which are also some of the wettest). Surface-discharge downspout arrangements avoid this concern entirely.
Coordination With House Gutter System
The under-deck drainage system collects water from the deck surface that would otherwise fall to the ground. The house gutter system collects water from the roof. These two systems should be designed so they don't conflict at the termination points. On many projects, the under-deck drainage downspouts can be integrated with the house gutter system — routed to the same downspout drain lines that handle roof drainage. We verify whether the existing house gutter system has adequate capacity for the combined load before integrating, and add dedicated drainage infrastructure where it doesn't.
What Real Projects Look Like: King County Examples
Bellevue hillside property, 14-foot clearance: A client on a view lot in Bellevue's Somerset neighborhood had a 480 sq ft elevated deck with nearly 14 feet of clearance — the equivalent of a 14-foot-tall room below the structure. We integrated a joist-top membrane system during a full deck rebuild (new composite decking, new railing system), added a finished cedar-panel soffit ceiling below the joists, installed concrete pavers at grade level, and wired the space for lighting and receptacles. The resulting under-deck space functions as a covered outdoor kitchen and dining area — usable in any King County weather and in the price range of a studio apartment's worth of covered outdoor square footage.
West Seattle raised deck, 9-foot clearance, existing structure: A client in the Delridge neighborhood had a 9-foot clearance under a structurally sound 10-year-old composite deck. Board condition was good — no structural reason to replace. We installed a contractor-grade aluminum soffit panel system, routed dual downspouts to connect to the existing house gutter downspout system, and added landscape lighting around the perimeter. Ground surface was existing compacted gravel, cleaned and replenished. Total project cost was in the lower range for a ceiling panel system on a simple rectangular footprint. The space now hosts outdoor furniture and a fire table twelve months per year.
Renton multi-level property, new build: New elevated deck on a sloped Renton lot with the under-deck area targeted for covered storage and future workshop use. Joist-top membrane integrated during the build, no finished ceiling (workshop aesthetic is appropriate), concrete slab at grade level for equipment use, dual downspouts routing to a French drain at the downhill perimeter. This is the utilitarian version of the same investment — no aesthetic ambitions for the space, but fully weatherproof and functional for equipment and storage from the first day of occupancy.
The Resale Case for Under-Deck Drainage in King County
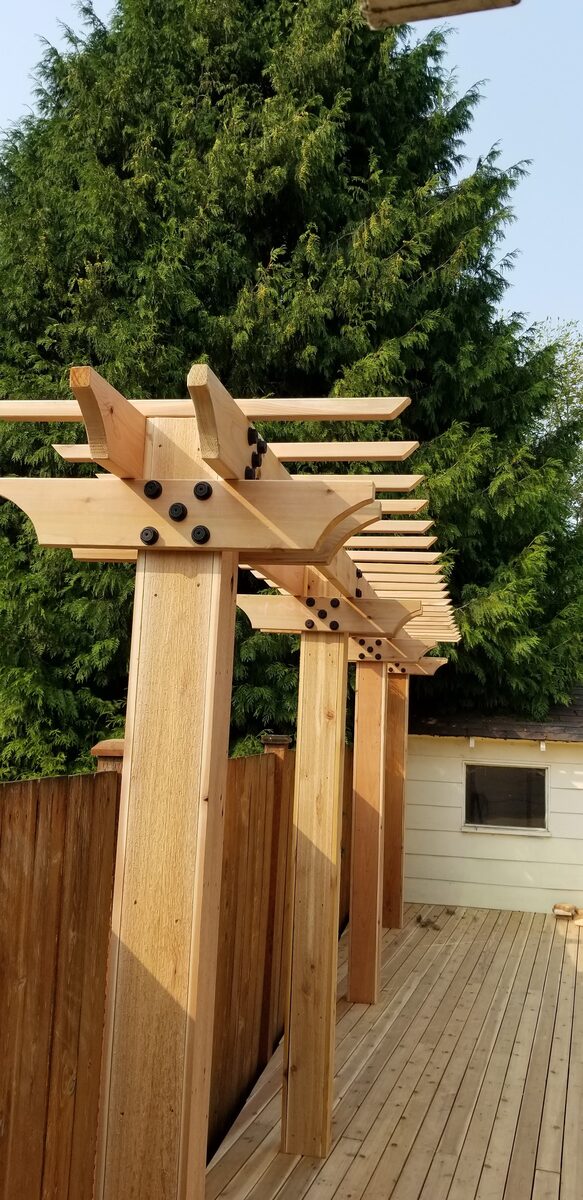
Seattle buyers in the $700K–$2M residential market have become sophisticated about outdoor living. A covered, weather-protected outdoor space — whether a louvered pergola over a deck or a drainage-converted under-deck patio — is a genuine differentiator in a market where outdoor usability is constrained by climate nine months of the year.
The NAR Remodeling Impact Report identifies covered outdoor spaces as among the highest-ROI home improvements in Pacific Northwest markets. While specific ROI percentages vary by market conditions, the qualitative finding is consistent: buyers in wet-climate markets pay for outdoor spaces they can actually use, not for attractive spaces that are weather-limited.
An under-deck drainage system that's been converted to a finished covered patio — with pavers, lighting, furniture, and weather-resistant materials throughout — shows in a listing as additional covered outdoor living square footage. On a Mercer Island or Bellevue listing where buyers expect functional outdoor living regardless of season, that's a meaningful appraisal and buyer-perception advantage.
The investment math: a 400 sq ft under-deck drainage and patio conversion project running $18,000–$30,000 creates covered outdoor living space at a fraction of the cost of building an enclosed addition of equivalent square footage. In King County's construction market, enclosed additions run $350–$700 per square foot. The under-deck conversion — even at the premium end — compares favorably on a dollar-per-functional-square-foot basis while adding a distinct outdoor character that enclosed additions don't provide.
Frequently Asked Questions About Under-Deck Drainage in Seattle
Frequently Asked Questions
How much does under-deck drainage cost in Seattle?
Can I add under-deck drainage to my existing deck without replacing the boards?
What's the minimum clearance needed for a functional under-deck space?
Do I need a permit for under-deck drainage in King County?
What drainage system performs best in heavy Seattle rain?
What flooring works best under a drainage system in Seattle?
How does under-deck drainage interact with the deck's composite boards above?
Can I heat the under-deck space for year-round use in Seattle?
What about moss growing in the under-deck space?
Should I install under-deck drainage before or after finishing the rest of the outdoor project?
What's the long-term maintenance requirement for an under-deck drainage system?
Ready to Activate the Space Under Your Elevated Deck?
The under-deck drainage conversation starts with a simple question: how much clearance do you have below your elevated deck, and what would you do with a dry, covered outdoor room that's that size?
For King County homeowners with 8+ feet of clearance and an existing deck — or those planning a new elevated deck build — under-deck drainage is one of the most efficient outdoor living investments available. You're not building new covered structure. You're activating covered structure that already exists but currently leaks.
We handle the full scope: drainage system specification, permit applications, structural assessment of existing decks for retrofit projects, downspout routing, coordination with adjacent hardscape, and electrical if you want lighting and heaters. One contractor, one project, one covered outdoor room.
For more on the deck surface above, see our composite vs. cedar decking guide and our Trex vs. Fiberon vs. TimberTech brand comparison. For covered structure options to pair with your under-deck patio, see our pergolas and covered decks guide. For full project cost context, see our Seattle deck cost guide.
Call The Seattle Decking Company at (425) 675-6259 or contact us online to schedule a free site assessment. We serve all of King County — Seattle, Bellevue, Kirkland, Renton, Sammamish, Mercer Island, Issaquah, and surrounding communities. We'll walk your property, assess your clearance and structure, and give you a clear recommendation with honest pricing for your specific situation.
Planning a deck in the Seattle area?
Get an onsite design review and a clear, itemized quote from a licensed local builder.
Request a Free Quote