
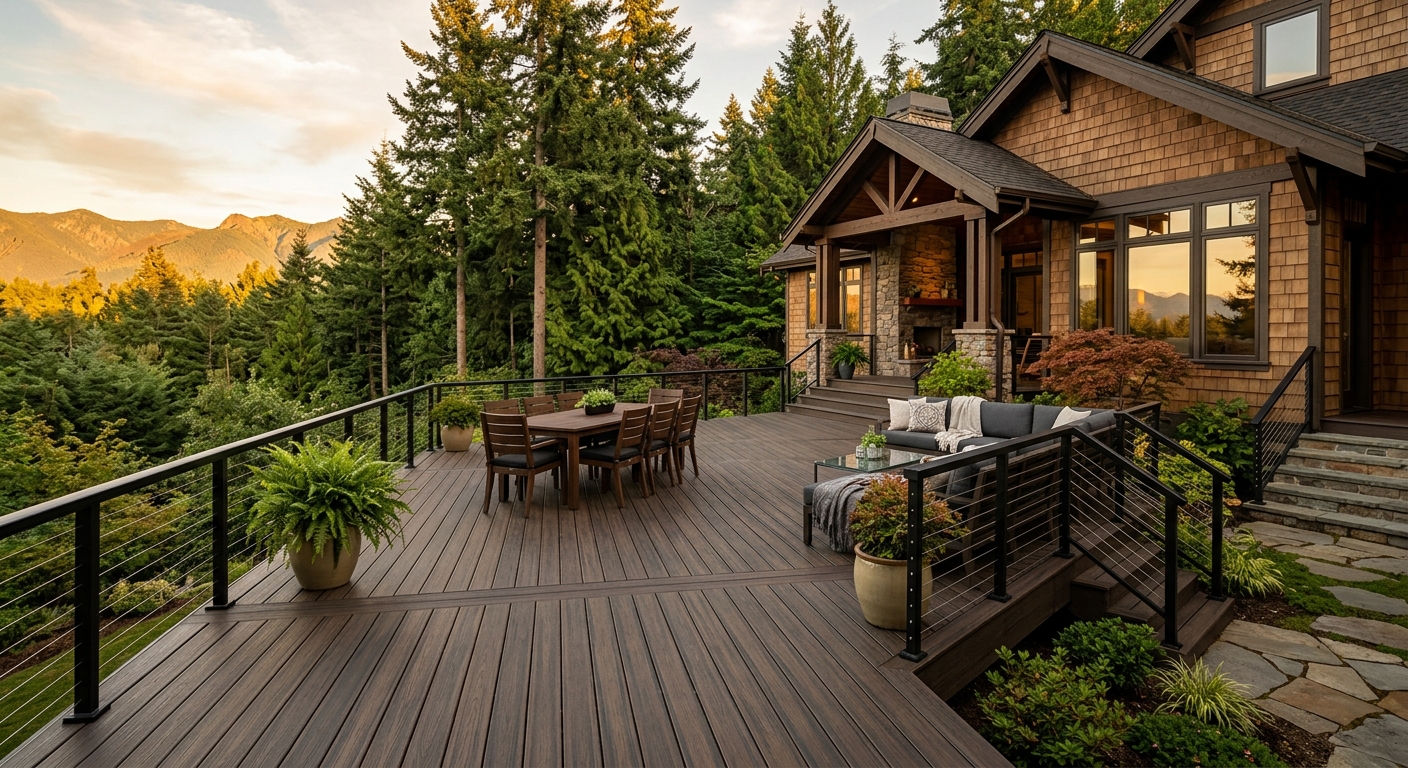
If you've spent any time on a Seattle-area deck, you already know the feeling: you step outside to enjoy your morning coffee, and within seconds you're making eye contact with your neighbor across a 15-foot gap. In dense neighborhoods like Ballard, Columbia City, Wallingford, or virtually anywhere on the Eastside, lots are narrow and homes sit close together. Second-story additions are common. Sightlines between properties are often unavoidable — unless you build for privacy from the start.
Privacy isn't just a comfort issue in Seattle. It's one of the top five reasons homeowners contact us for deck projects, right alongside material selection, cost, and permit questions. And unlike other regions where a simple wood fence solves most problems, Seattle's layered zoning rules, wind exposure, and heavy rainfall require a more thoughtful approach. A bamboo screen that works beautifully in a Sonoma courtyard will rot and split in our wet winters within two seasons. A 7-foot solid panel that looks great on paper may require a permit, blow over in a fall windstorm, or violate your HOA's CC&Rs.
The good news: Seattle homeowners have more privacy options today than ever before, and the best solutions — composite panels, integrated trellis systems, living green walls — actually increase your deck's aesthetic appeal and resale value at the same time. This guide covers what works in King County, what it costs, what triggers a permit, and how to combine privacy with shade so you're not solving one problem at a time.
Understanding Seattle's Privacy Challenge: Why Generic Advice Fails Here
Walk into any big-box home improvement store and you'll find a wall of "instant privacy" solutions: bamboo rolls, UV-resistant sail shades, freestanding folding screens. Some of these products are fine in dry climates. In Seattle, most of them are money down the drain within a year or two.
The core issue is our climate data. Seattle averages 37.7 inches of rainfall per year, with the bulk falling between October and April. But it's not just the volume — it's the relentless drizzle, the freeze-thaw cycles in January and February, and the UV exposure during our increasingly intense summers. Any material used outdoors needs to handle moisture saturation, thermal expansion and contraction, UV degradation, and occasional windstorms that push 40–50 mph gusts in exposed locations.
The Density Factor in King County
King County has seen significant residential densification over the past decade. Seattle's Mandatory Housing Affordability (MHA) upzones added density throughout previously single-family zones. Bellevue, Kirkland, and Redmond have seen major in-fill construction. What this means practically: houses that used to have generous side yards between them are now separated by 6 to 15 feet. Second-story ADUs are looking directly onto neighboring decks. Short-term rentals create unpredictable sightline changes as neighbors add rooftop decks or upper-level windows.
This compression of space makes privacy a structural design challenge, not a furniture problem. You can't solve a 12-foot sightline gap with a potted plant or a market umbrella. You need a built system.
Wind Loading: The Factor Most Homeowners Miss
Seattle is not as windy as the coast, but exposed locations in Magnolia, West Seattle, Beacon Hill, and along Lake Washington get sustained gusts that matter enormously for tall privacy screens. The American Wood Council requires wind load calculations for structures over a certain height and area in Washington State. A 6-foot-tall solid privacy panel spanning 20 linear feet creates significant lateral force in a 40 mph wind. Poorly anchored screens have been known to blow into neighboring properties — a liability issue, not just an inconvenience.
This is why tall solid screens need to be engineered, not improvised. Posts need to be properly sized (typically 4x4 minimum, 6x6 for taller spans), set in concrete footings, and spaced appropriately. We'll address this in detail in each material section below.
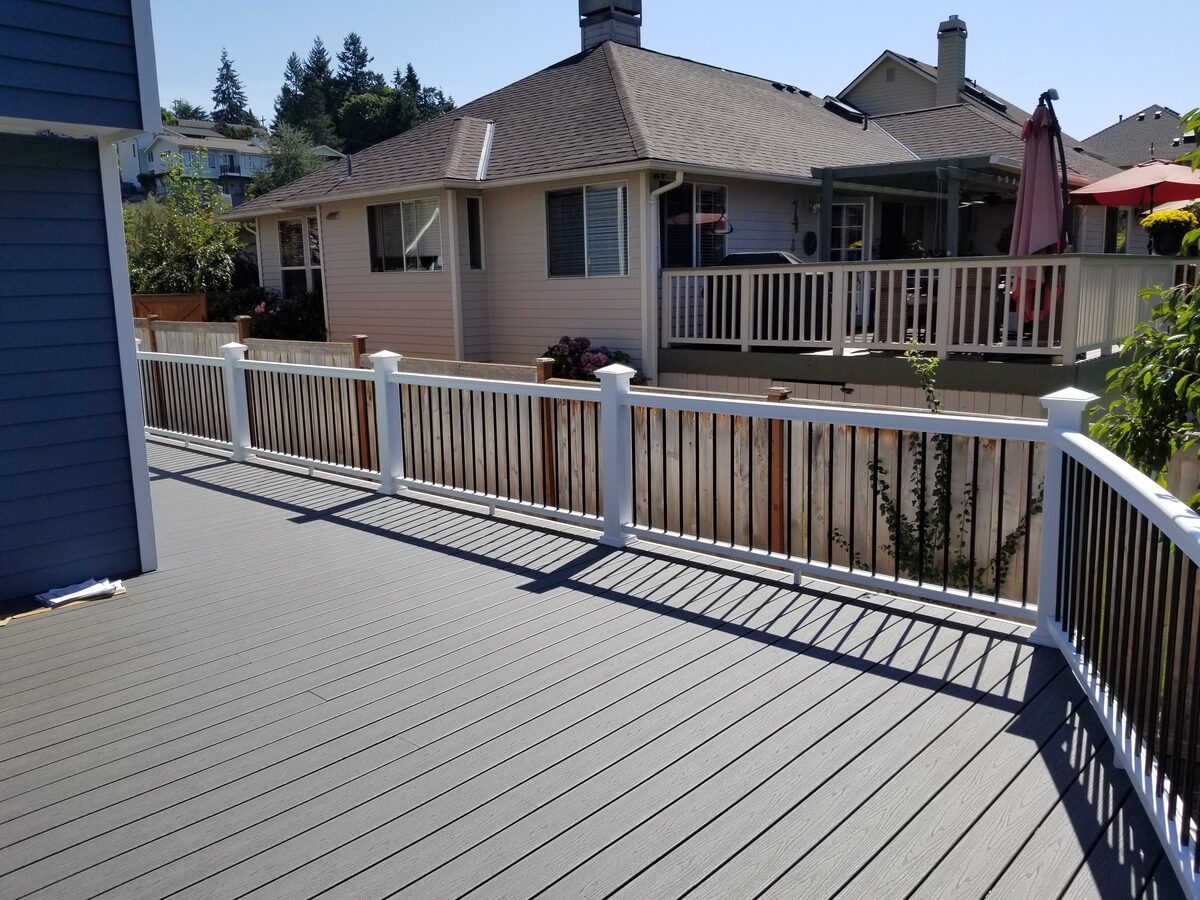
Cedar Lattice Privacy Panels: The Classic Seattle Solution
Cedar has been the Pacific Northwest's go-to outdoor wood for decades, and for good reason. Western Red Cedar is naturally resistant to moisture, insects, and decay — properties that make it far better suited to our climate than pressure-treated pine. When properly finished and maintained, cedar privacy structures can last 20–30 years in King County conditions.
For lattice panels specifically, cedar offers a middle ground between solid privacy and open airflow. A 2-inch diagonal lattice pattern blocks most sightlines at normal viewing angles while allowing significant air movement — which matters for wind loading calculations and for making your deck feel less like a closed box on those rare hot Seattle days.
Cost Breakdown: Cedar Lattice in the Seattle Market
Material costs for cedar lattice panels vary significantly by grade and source. In the current Seattle market:
- Standard #2 cedar lattice panels (4x8 sheet): $45–$75 per sheet
- Premium #1 cedar lattice panels (4x8 sheet): $80–$120 per sheet
- Cedar 4x4 posts: $25–$45 per 8-foot post
- Cedar 2x6 framing lumber: $12–$18 per linear foot
For a typical 12-linear-foot privacy screen standing 6 feet tall, expect installed costs of $500–$1,500 depending on finish, post depth, and whether existing deck structure can support the screen attachment. This range assumes you're attaching to an existing deck frame; freestanding structures with their own footings run higher.
Maintenance is the honest part of the cedar conversation. Unfinished cedar will gray beautifully but will also check, crack, and eventually delaminate the thin lattice strips if left unprotected. In Seattle's wet climate, cedar lattice benefits from a penetrating oil-based finish applied every 2–3 years. Semi-transparent stains work well and can complement your cedar decking if you have it. Skipping maintenance doesn't ruin the cedar immediately, but you'll see accelerated checking and splitting within 4–5 years. See our guide on deck staining vs. composite options in Seattle for more context on the maintenance tradeoff.
Design Variations for Cedar Lattice
Standard diagonal lattice is the most common, but not the only option:
Vertical board-and-gap screens: Western Red Cedar 1x4 or 1x6 boards spaced 1–2 inches apart create a more modern look and offer more control over the privacy-to-airflow ratio. Tight gaps (1 inch) provide near-total visual privacy; wider gaps (2 inches) are permeable to sightlines at shallow angles but screen direct views.
Shadowbox cedar panels: Alternating boards on front and back of a central rail block direct views while allowing airflow through the offset gaps. This is a smart solution for locations where wind loading is a concern — the screen is semi-permeable and generates less lateral force than a solid panel.
Cedar framed with composite infill: Some homeowners prefer the natural look of cedar posts and rails but want a lower-maintenance infill. Composite or PVC lattice panels fit standard cedar framing and won't require refinishing.
Tip
According to Real Cedar (WRCLA), Western Red Cedar has a natural cellular structure that gives it thermal insulating properties roughly 8 times greater than concrete — which also means it handles Seattle's freeze-thaw cycles better than denser woods.
Composite Privacy Panels: The Low-Maintenance Option
Composite privacy panels have evolved dramatically over the past decade. Early composite fencing products were heavy, prone to fading, and had limited design options. Current-generation composite privacy panels from manufacturers like Trex, Fiberon, and AZEK/TimberTech are lighter, better-looking, and backed by 25-year or lifetime warranties.
For Seattle homeowners who don't want to refinish their privacy structures every few years, composite panels are the practical upgrade. They won't rot, split, or require staining. The color is consistent throughout, so scratches don't show through to a lighter core. And modern profiles — horizontal slats, tongue-and-groove boards, and louvered systems — offer design versatility that rivals wood.
Composite Panel System Options
Horizontal slat systems: The most popular current style. Composite boards (typically 1x4 or 1x6 profile) install horizontally between aluminum or composite posts in a tongue-and-groove or clip system. The result looks like modern horizontal wood siding and pairs well with contemporary composite decking. Cost range: $800–$2,500 installed for a 10–12 linear foot section.
Full composite privacy panels: Pre-fabricated panels, typically 4x8 or 6x8 feet, that install as complete units between posts. Faster to install, but less flexible for custom heights and widths. Deckorators and similar brands offer these in composite and PVC profiles. Cost range: $700–$1,800 installed depending on panel spec and post requirements.
Aluminum-framed composite: Some premium systems use extruded aluminum frames with composite infill slats. These are dimensionally stable, lightweight relative to solid wood, and hold up exceptionally well in coastal and rain-heavy environments. Cost range: $1,500–$3,500 installed.
For a comparison of composite material quality across brands, see our Trex vs. Fiberon vs. TimberTech comparison, which covers the material properties in detail.
Installed cost estimates for a typical 12-linear-foot privacy screen section, 6 feet tall. Costs vary by site conditions, post requirements, and finish level.
| Category | Value |
|---|---|
| Cedar Lattice (basic) | $750 |
| Cedar Board-and-Gap | $1,100 |
| Composite Panels (mid-grade) | $1,650 |
| Aluminum Screen System | $2,500 |
| Cable Privacy Screen | $2,000 |
| Pergola + Privacy Panels | $4,500 |
| Living Trellis (installed + plants) | $1,800 |
Why Composite Beats Bamboo in Seattle
This point deserves its own callout because we get questions about bamboo every season:
Important
If you want the organic, natural aesthetic that bamboo provides, cedar board-and-gap screens with a natural gray finish achieve a similar look without the failure rate. Or consider a composite panel in a warm gray tone — several manufacturers offer profiles that read as natural rather than plastic.
Aluminum Screen Systems and Cable Privacy Screens
Aluminum Privacy Screen Systems
Aluminum screen systems represent the premium tier of deck privacy solutions. Products like Trex Privacy (aluminum construction with powder-coat finish) and similar manufacturer offerings provide a modern, architectural look with virtually zero maintenance.
Trex Privacy panels are manufactured from aluminum with stainless steel hardware and a multi-step powder-coat exterior finish. They come in a range of colors including charcoal, sandstone, bronze, and white, and carry a lifetime structural warranty with a 10-year powder coat warranty. Panel sizes are typically 72"x42" or 42"x42", which means they're designed as modular elements you combine to achieve the coverage you need.
For a full deck privacy wall using aluminum panel systems, installed costs run $1,500–$4,000 for a 12-linear-foot section, depending on height and panel configuration. This is the highest upfront cost in our comparison, but the ongoing maintenance cost is essentially zero — no staining, no sealing, no replacement of warped boards.
Aluminum systems also solve the wind loading concern more elegantly than solid wood panels. Most aluminum privacy screen systems are designed with calculated gap percentages that reduce lateral wind force while maintaining visual screening at normal viewing angles.
Cable Privacy Screens
Cable railing systems — which are already popular for deck railing in Seattle — can be configured vertically to create privacy screens rather than horizontal balustrades. Vertical cable spacing of 2–3 inches provides reasonable privacy at a distance while maintaining an open, light-filled aesthetic.
Cable privacy screens work best when:
- You want a modern, minimalist look
- Your sightline issue is from a distance (cable screens don't block close-range views well)
- You're combining cables with climbing plants on a trellis (the cables act as support for the vines)
Installed cost for cable privacy screens: $1,000–$3,000 for a 12-linear-foot section, depending on post material and hardware specification. Stainless steel hardware is essential in Seattle's climate — anything less will rust within a few seasons.
Note
Pergolas, Shade Structures, and Combined Privacy-Shade Systems
One of the most common mistakes Seattle homeowners make is trying to solve privacy and shade as separate problems. In practice, the best deck designs address both with a single integrated structure — a pergola with privacy panel infill, a covered structure with side screens, or a louvered roof system that also incorporates privacy walls.
Pergola with Privacy Panels
A pergola provides overhead shade structure and natural attachment points for side privacy panels. Rather than building a freestanding privacy wall AND a separate pergola, integrating them into one structure:
- Reduces material cost (shared posts)
- Creates a more cohesive design
- Provides structural support for the panels at the top, reducing wind vulnerability
- Allows for privacy panel integration on whichever sides face sightline issues, leaving other sides open
Pergola costs in Seattle run $8,000–$25,000+ depending on size and material, with the privacy panel infill adding $1,500–$5,000 to that total. For more detail on pergola costs and options, see our Seattle pergola cost guide.
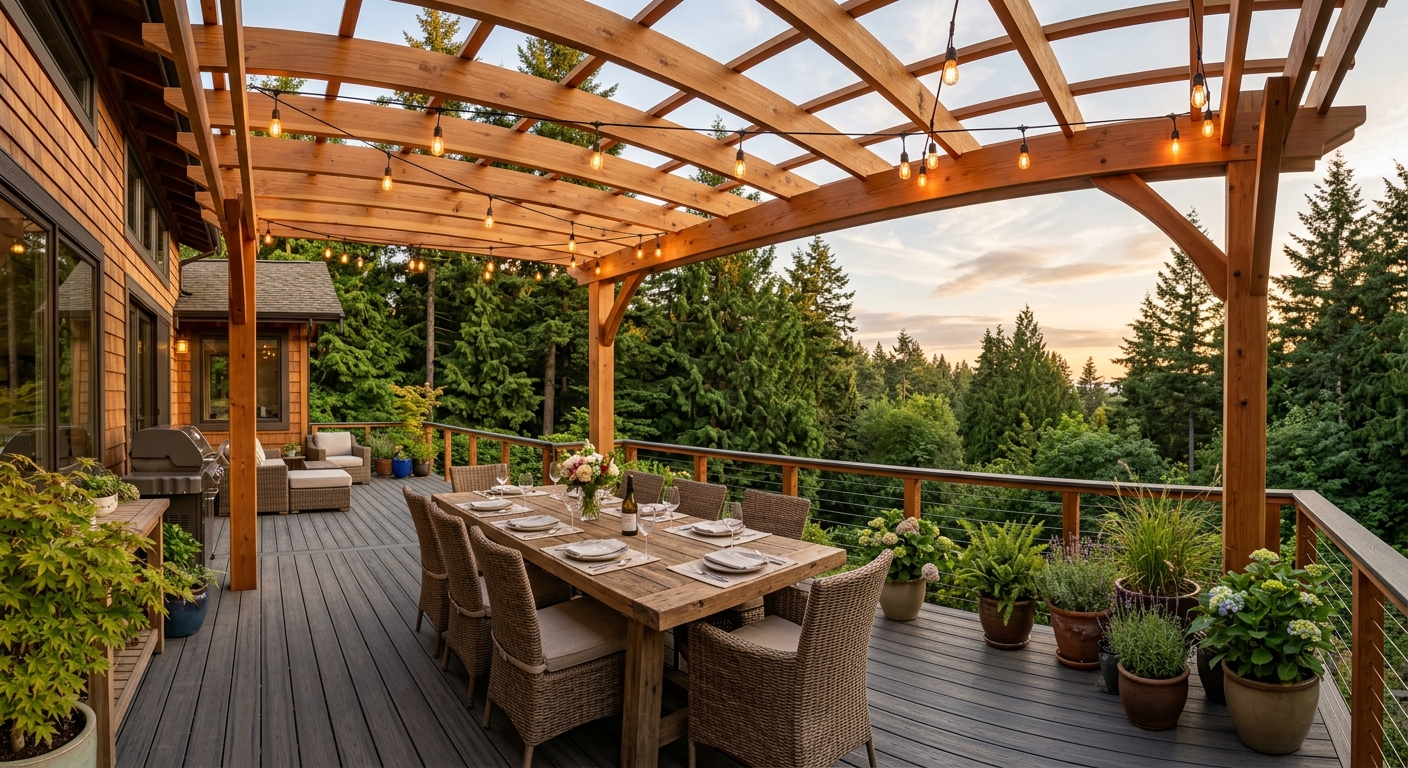
Louvered Roof Systems
Motorized louvered pergola systems (brands like Pergola Kits USA, StruXure, and similar) allow you to adjust roof slat angles for sun control while integrating fixed or adjustable side privacy panels. These are the Cadillac option — typical installed cost in Seattle ranges from $20,000–$50,000 for a full system — but they solve privacy, shade, rain protection, and outdoor room definition in a single structure.
For Seattle homeowners who want to use their outdoor space year-round (which, in our climate, means having some rain protection), a louvered system with side panels is arguably the most functional solution available.
Built-In Bench Backs as Privacy Screens
This is one of the most underutilized privacy strategies in residential deck design. A built-in bench with a tall back panel — typically 48–60 inches total height from deck surface to top of back — creates natural privacy screening along the bench perimeter while adding functional seating.
The bench back acts as a privacy screen at seated eye level, which is exactly where you want it. When you're sitting on a deck, you're at approximately 36–42 inches above the deck surface (eye level seated). A 48-inch bench back brings the screening to 48 inches, blocking most seated views from neighboring properties without creating a structure that reads as a fence.
Built-in bench backs can be built from:
- Cedar: Natural look, requires maintenance, integrates with cedar decking
- Composite decking boards: Same material as the deck surface, zero maintenance, seamless look
- PVC: Fully waterproof, ideal for covered areas
Cost range for built-in bench with privacy back: $800–$2,500 for a 10-foot bench section, depending on material and complexity.
Key insight
Trellis Systems and Living Green Walls
Green privacy solutions — trellises with climbing plants, living walls, and vertical gardens — represent a different philosophy than structural screens. Instead of immediately blocking a sightline with a solid or semi-solid panel, you're investing in a growing system that will provide increasing privacy over 2–5 years as plants fill in.
This approach has obvious aesthetic advantages: nothing softens a deck perimeter like flowering vines on a trellis. But it requires patience, appropriate plant selection, and a trellis structure robust enough to support the mature weight of climbing plants.
Pacific Northwest-Appropriate Climbing Plants
The Pacific Northwest climate is excellent for many climbing vines, but plant selection matters for deck privacy specifically. You need:
- Fast establishment — you want coverage within 1–2 seasons, not 5
- Dense foliage — not all vines create visual screening; some are sparse
- Year-round coverage OR deciduous acceptance — if you need winter privacy, you need evergreen vines
- Structural suitability — some vines are too vigorous and will damage wood framing
Species that work well for Pacific Northwest privacy trellises:
Evergreen clematis (Clematis armandii): Fast-growing, evergreen in our climate, white flowers in early spring, dense coverage. One of the best choices for year-round deck privacy. Reaches 20–30 feet at maturity — needs a robust trellis.
Star jasmine (Trachelospermum jasminoides): Technically semi-evergreen in Seattle, fragrant white flowers, moderate growth rate. Excellent for areas with some wind protection.
Honeysuckle (Lonicera species): Fast-growing, fragrant, attracts pollinators. Deciduous in our climate, so provides summer privacy but is sparse in winter. Hall's Honeysuckle is vigorous but can become invasive — use native species or improved cultivars.
Climbing hydrangea (Hydrangea anomala petiolaris): Slow to establish but magnificent at maturity. Self-clinging, deciduous, produces stunning white flower clusters. Not the fastest privacy solution, but a beautiful long-term investment.
Climbing roses: Excellent for trellises, moderate growth rate, seasonal color. Choose disease-resistant varieties — our climate favors black spot and other fungal issues on susceptible cultivars.
Species to avoid for deck privacy:
- English ivy: Invasive in King County, destructive to wood framing
- Wisteria: Beautiful but extremely vigorous — can damage deck structure at maturity
- Trumpet vine (Campsis radicans): Invasive, spreads aggressively via root runners
Trellis Construction for Privacy
A trellis supporting mature climbing plants needs to be significantly more robust than a decorative garden trellis. At maturity, a 10-linear-foot section of dense clematis can weigh 200–400 pounds when wet after a rain. Add wind loading on that dense foliage mass, and you need 4x4 minimum posts in concrete footings, with 2x4 or 2x6 horizontal rails and appropriate wire or lattice infill.
For deck-attached trellises, the connection to the existing deck ledger or frame needs to be engineered to handle these loads. This is not a DIY weekend project — improper attachment can damage your deck's structural ledger.
Installed cost for a robust trellis system (without plants): $600–$1,800 for 10 linear feet. Add $200–$600 for plant material and initial establishment.
Living Walls and Vertical Gardens
Living walls — modular panel systems with built-in irrigation that support dense planting of smaller plants — are a trend in urban residential design that has made its way into deck privacy applications. Companies like Woolly Pocket, Florafelt, and several Seattle-based landscape suppliers offer modular living wall systems that can be mounted to deck frames.
Living wall advantages:
- Immediate visual effect (instant color, texture, greenery)
- Privacy effect scales with plant density over one season
- Dramatic aesthetic impact
- Can include herbs, vegetables, and edible plants
Living wall challenges in Seattle:
- Requires irrigation system (or diligent hand watering)
- Plants need winter protection or replacement in cold snaps
- Weight loading can be significant when wet (plan for 15–25 lbs per square foot)
- Ongoing plant care and replacement cost
Installed cost for a living wall privacy panel: $1,500–$5,000 for a 4x8 section with irrigation, depending on plant selection and system complexity.
Permit Requirements, HOA Rules, and Neighbor Considerations
This is the section that most national deck privacy guides skip or get wrong. In King County and Seattle specifically, the regulatory landscape for privacy structures is more nuanced than a simple "under 6 feet, no permit needed" rule.
Seattle SDCI Permit Requirements
According to the Seattle Department of Construction and Inspections (SDCI), fences and privacy screens in Seattle follow these general rules:
No permit required:
- Fences/screens 6 feet or less in total height
- No masonry or concrete elements over 6 feet
Permit required but streamlined:
- Fences/screens 6–8 feet in height that are "predominantly open" (lattice, spaced slats, cable)
- Structures in Neighborhood Residential and Multifamily zones must meet specific setback requirements
Full permit with structural review:
- Any structure over 8 feet in height
- Solid screens over 6 feet (blocking light and air)
- Structures in environmentally critical areas (steep slopes, wetland buffers)
- Structures attached to decks that are already permitted
The key distinction SDCI makes is between "predominantly open" and "solid" structures. A 7-foot cedar lattice screen — where the lattice openings represent more than 50% of the surface area — may qualify as "predominantly open" and fall under the simplified permit track. A 7-foot solid composite panel does not.
Note
Unincorporated King County Rules
In unincorporated King County (areas outside city limits), the general rule is:
- Fences and screens up to 6 feet: no permit required
- Over 6 feet: permit required, must meet setback requirements for the zone
- Processing time: 4–8 weeks for standard residential applications
Because processing times can stretch during busy seasons (spring and summer), submit your permit application at least 6–8 weeks before your planned construction start if your project exceeds 6 feet.
HOA Restrictions: Always Check First
For homeowners in subdivisions with HOAs, this is non-negotiable: get HOA approval before you apply for a permit, and absolutely before you buy materials. HOA CC&Rs commonly regulate:
- Maximum height of privacy screens (often lower than the city code maximum)
- Approved materials (cedar and composite yes; chain-link and bamboo often no)
- Color restrictions (natural wood tones only, or color must match house)
- Required setbacks from property lines
- Visibility from the street (front yard screening rules are often stricter)
See our guide to HOA deck approval in King County for a detailed walkthrough of the approval process.
Neighbor Consent and Property Line Considerations
A privacy screen you install entirely on your property doesn't legally require neighbor consent. However, practical consideration of your neighbor's perspective avoids disputes and potential code complaints.
Key points:
- Privacy screens must be installed on your property, not on the property line (which creates shared ownership complications)
- A structure that blocks your neighbor's natural light or views can trigger nuisance complaints in some jurisdictions
- Neighbor consent, while not legally required for on-property structures, is good practice and can prevent future disputes
- If your screen will be visible from the neighbor's property (it will be), consider finishes that look acceptable from both sides
In Seattle's dense neighborhoods, we consistently recommend having a brief conversation with neighbors before installing a tall privacy screen. Most neighbors are understanding, and the conversation prevents the scenario where a finished screen generates a code complaint that requires expensive modifications.
Orienting Your Privacy Screen: Blocking the Right Sightlines
One of the most common deck privacy mistakes is installing screening on the wrong side. We've visited projects where a homeowner installed a full lattice wall on the north side of their deck — facing a solid wood fence on the neighbor's side — while leaving the east side open to a two-story neighbor's windows that look directly into the deck from above.
Effective privacy planning starts with a sightline analysis:
Step 1: Identify All Sightlines
Stand on your deck at different times of day and note:
- Which direction are you most exposed to neighbor views?
- Are the views from adjacent lots at the same level, above, or below?
- Are there second-story windows that look down at an angle?
- What about views from the street?
- Are there seasonal variations (deciduous trees that block views in summer but not winter)?
Step 2: Understand View Geometry
A privacy screen at 6 feet tall protects a seated person at grade level from direct views at the same elevation. But if your neighbor's second-story window is 15 feet above your deck surface and 20 feet away horizontally, a 6-foot screen does nothing — the angle of view clears the top of your screen easily. You'd need either a very tall screen (not always permitted) or a covered overhead element (pergola roof, shade sail) to block downward views.
This geometry explains why so many deck privacy projects benefit from combining vertical screens with overhead shade elements. The vertical screen handles adjacent-level views; the overhead element handles elevated views.
Step 3: Calculate Minimum Screen Height
A basic rule for blocking a horizontal sightline from the same elevation:
Screen height needed = (sightline height above deck surface) + (distance from screen to deck seating area / distance from sightline to screen) x screen height buffer
For practical purposes: if your neighbor's eye level is 5 feet above your deck surface when they're standing in their yard, and your screen is 10 feet from your seating area and 20 feet from the neighbor's standing position, you need your screen to be at least 5 feet x (30/20) = 7.5 feet tall to block the sightline. That's over Seattle's no-permit threshold.
This math is exactly why some privacy situations require a permit, and why working with an experienced deck builder who can evaluate your specific geometry matters.
Tip
Wind Loading, Structural Considerations, and Long-Term Durability
Tall privacy screens in Seattle face real wind loads. The 2021 International Building Code (adopted in Washington State) requires that structures be designed to resist wind pressures based on local wind speed data. For most residential locations in Seattle and King County, the design wind speed is 85–105 mph (3-second gust), which generates significant lateral force on a tall, solid or semi-solid panel.
Post Sizing and Footing Requirements
For privacy screens installed on or adjacent to decks:
| Screen Height | Minimum Post Size | Recommended Footing |
|---|---|---|
| Up to 4 feet | 4x4 cedar or composite | 12" diameter, 24" deep |
| 4–6 feet | 4x4 cedar or 4x4 composite | 12" diameter, 36" deep |
| 6–8 feet | 6x6 cedar or aluminum | 16" diameter, 42" deep |
| Over 8 feet | Engineered per project | Structural engineer required |
These are general guidelines, not engineering specifications. Soil conditions, panel density (solid vs. open), and local exposure (protected yard vs. hillside with wind exposure) all affect the actual requirements.
For deck-attached screens, the connection to the existing deck ledger must be evaluated by a licensed contractor. Bolting a tall screen to a deck's rim joist without verifying the rim joist can handle the lateral load is a common DIY mistake that can cause deck frame damage.
Material Durability in Seattle's Climate
The table below summarizes how common privacy screen materials perform in King County conditions over time:
| Material | Initial Cost | Maintenance | Expected Lifespan | Rain/Freeze Performance |
|---|---|---|---|---|
| Cedar lattice | Low-Medium | Moderate (stain every 2-3 yrs) | 15–25 years | Excellent |
| Composite panels | Medium-High | Minimal | 25+ years | Excellent |
| Aluminum screens | High | Minimal | 30+ years | Excellent |
| Bamboo roll | Very Low | None (fails fast) | 1–2 years | Poor |
| UV fabric curtains | Low | Low-Medium | 3–5 years | Moderate |
| Treated pine | Low | High | 10–15 years | Moderate |
| PVC/vinyl panels | Medium | Minimal | 20+ years | Excellent |
Outdoor Curtains: UV-Rated Fabric Screens
Outdoor curtains using UV-rated, water-resistant fabric are a lower-cost privacy option that many Seattle homeowners find appealing for their flexibility. The curtains can be drawn when you want privacy and opened to allow views, breeze, and light.
For this application in Seattle's climate:
- Fabric must be solution-dyed acrylic (Sunbrella is the standard) — cheaper polyester fades and fails within one season in our UV exposure
- Hardware must be stainless steel or coated aluminum — anything else will rust
- Curtain rods need to be secured at top and bottom to prevent wind billowing
- Curtains should be removed or tied during windstorms
Installed cost for fabric curtain system on a 10-foot span: $400–$1,200 depending on fabric grade, hardware, and panel configuration. Fabric replacement every 5–8 years adds ongoing cost.
For composite decking environments, fabric curtains are often used as a secondary, seasonal privacy layer — combined with a fixed trellis or lattice for year-round structure and curtains for warm-season privacy.
Planning Your Deck Privacy Project: From Concept to Permit to Build
Here's how a well-run deck privacy project in King County unfolds, from initial planning through completion:
Phase 1: Assessment and Design (1–2 weeks)
- Conduct sightline analysis (stand on deck at different times of day, different seasons if possible)
- Identify primary and secondary sightline issues
- Research HOA restrictions (obtain CC&Rs, contact HOA management company)
- Sketch design concepts, noting which sides of the deck need screening
- Determine height requirements based on sightline geometry
- Choose material based on budget, maintenance tolerance, and aesthetic preference
Phase 2: Contractor Consultation (1–2 weeks)
A qualified deck builder will:
- Review your existing deck structure for attachment points and load capacity
- Identify permit requirements based on height and structure type
- Provide detailed quote with material specs, hardware, post sizing, and footing plan
- Advise on HOA submission requirements
When evaluating contractors, the questions in our deck builder vetting guide apply equally to privacy screen projects. Verify Washington L&I contractor licensing before signing any contract.
Phase 3: Permitting (2–8 weeks, if required)
If your project requires a permit:
- Submit HOA approval documentation first
- Prepare site plan showing property lines, existing structures, and proposed screen location
- Submit permit application to SDCI (Seattle) or applicable King County/city jurisdiction
- Allow 2–8 weeks for review; complex projects or environmentally critical areas take longer
For King County permit guidance, the county's permitting portal provides jurisdiction-specific guidance. See our detailed King County deck permit guide for more.
Phase 4: Construction (1–5 days typically)
A typical residential privacy screen installation takes 1–3 days for a single-side screen, 3–5 days for a multi-side project with footing work. Projects that include pergola or covered structure integration take 1–3 weeks depending on scope.
Phase 5: Plant Establishment (if applicable)
For trellis-with-plants projects, initial plant establishment takes 1–3 growing seasons to achieve meaningful coverage. Plan for the first season to establish root systems; foliage coverage typically fills in during season 2, with near-complete coverage by season 3 for fast-growing species like evergreen clematis.
Financing your privacy project is worth discussing if the scope is larger. See our guide to deck financing in Seattle for options including home equity products from Seattle-area lenders.
Key insight
Get Your Privacy Consultation Scheduled
Seattle's dense neighborhoods and layered regulatory environment make deck privacy a more complex project than it looks at first glance. Getting it right — the right material for our climate, the correct height for your permit category, the structural integrity to handle our windstorms — requires working with a builder who knows King County codes and PNW conditions from experience, not from a national template.
At The Seattle Decking Company, we've designed and built privacy solutions across Ballard, Bellevue, Capitol Hill, Kirkland, West Seattle, Shoreline, and dozens of other neighborhoods in King County. We know the permit variance between Seattle city limits and unincorporated King County. We know which HOAs have strict material restrictions and which are more flexible. And we know exactly how to size a post footing to keep a 7-foot cedar screen standing in a December windstorm.
If you're ready to stop making eye contact with your neighbors over your morning coffee, we'd love to help. Call us at (425) 675-6259 for a free consultation, or reach out through our contact page. We'll walk your deck, identify the sightline issues, and give you a clear recommendation — materials, structure, permit requirements, and cost — before you commit to anything.
The Seattle Decking Company 22722 29th Drive SE, Bothell, WA 98021 (425) 675-6259
Frequently Asked Questions
Do I need a permit for a deck privacy screen in Seattle?
What is the best privacy screen material for Seattle's rainy climate?
How much does a deck privacy screen cost in Seattle?
Can my HOA restrict the type of privacy screen I install on my deck?
Do I need my neighbor's permission to build a privacy screen?
Will a privacy screen block views from my neighbor's second-story window?
What climbing plants work best for deck privacy trellises in the Pacific Northwest?
How tall can a privacy screen be on a Seattle deck without a permit?
What is the most cost-effective deck privacy solution in Seattle?
Can I attach a privacy screen directly to my existing deck?
How do I block a specific sightline without building a full privacy wall?
Are there privacy screen options that also provide shade in Seattle?
Planning a deck in the Seattle area?
Get an onsite design review and a clear, itemized quote from a licensed local builder.
Request a Free Quote