
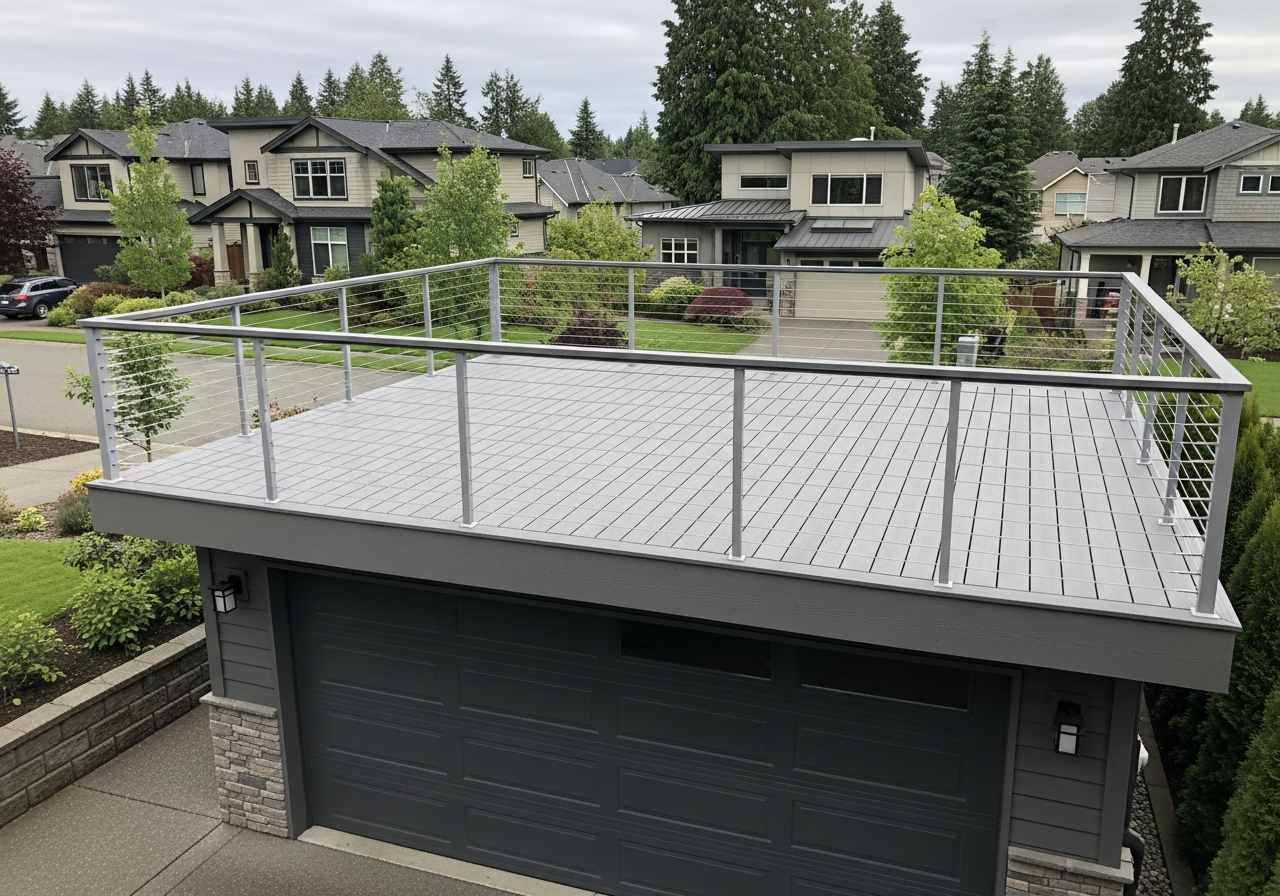
Seattle's weather is not subtle. From October through April, the average Puget Sound region receives roughly 37 inches of rainfall — most of it arriving in long, cold, relentless stretches that keep wood wet for weeks at a time. Combine that with marine air humidity that hovers above 80% on many winter mornings, daily freeze-thaw cycling in January and February at elevations above 300 feet, and the biological engines that are Pacific Northwest moss and algae spores, and you have one of the most challenging deck maintenance climates in the country. A deck that would last 25 years with annual maintenance in Phoenix or Denver might start showing structural problems at year eight in Bothell or Shoreline without proper upkeep.
What separates a deck that looks great at year fifteen from one that needs full replacement at year ten is almost never the material — it's the maintenance rhythm. Cedar decks in Seattle fail early when homeowners skip the fall re-stain and leave bare wood exposed to six months of moisture. Composite decks develop mold colonies under patio furniture and in the channels between boards when debris accumulates and never dries. Even PVC decks, which are the most forgiving material available, can suffer hardware and substructure failures that go unnoticed without a proper annual inspection. The good news is that the maintenance required to protect a Seattle-area deck is straightforward, seasonal, and — for most homeowners — entirely manageable as a DIY project with the right products and knowledge.
This guide covers everything specific to the Pacific Northwest: the materials, the timeline, the products that work here, the failure points that are unique to our climate, and the cost comparison data you need to plan over a 10- to 20-year ownership horizon. We build decks across the greater Seattle area — Bothell, Kirkland, Redmond, Woodinville, Bellevue, Edmonds, and beyond — and the maintenance questions below come directly from homeowners we've worked with.
Your Annual Seattle Deck Maintenance Calendar
The most common mistake Seattle homeowners make is treating deck maintenance as a single annual event — usually a spring power wash — rather than a seasonal rhythm. The PNW requires two active maintenance windows each year, with fall being the more critical of the two.
Spring Maintenance Window: April Through May
Spring maintenance is primarily diagnostic. After five to six months of wet weather, you want to assess what winter did to your deck before summer traffic amplifies any problems.
For Cedar and Pressure-Treated Wood Decks:
Start with a thorough cleaning using an oxygen bleach deck wash product — products like Corte-Clean or Defy Wood Cleaner work well on Pacific Northwest decks and are safe for the surrounding landscaping, which matters in Seattle where cedar trees, rhododendrons, and ferns surround most backyard decks. Mix according to label directions, apply to a wet deck surface, scrub with a stiff-bristle brush, and rinse thoroughly. Oxygen bleach (sodium percarbonate) kills moss and algae without stripping the wood's natural color the way sodium hypochlorite (chlorine bleach) does.
After the deck dries completely — allow at least 48–72 dry hours in Seattle's variable spring weather — probe every board with a screwdriver or awl. Sound wood resists penetration. Soft spots where the tool sinks in easily indicate rot that needs addressing before it spreads to framing members. Pay particular attention to end grain, any area where wood meets a flashing or ledger connection, and low spots where water could have pooled.
Inspect the stain or sealer condition. If you can see bare gray wood, if water no longer beads on the surface, or if the existing finish is peeling or flaking, re-staining in spring is warranted. In our Seattle climate, cedar decks typically need re-staining every 1–2 years. The higher the foot traffic and the more sun exposure, the faster the finish degrades.
For Composite Decks:
Spring composite maintenance focuses on two things: debris clearing and mold inspection. Remove any furniture, planters, or rugs that sat on the deck all winter and check underneath. Seattle's combination of moderate temperatures, persistent moisture, and organic debris (tree droppings, leaves, pollen) creates ideal mold conditions in areas that don't receive airflow or UV exposure.
Clear the channels between boards — composite decking in Seattle accumulates organic material in the grooves faster than anywhere else in the country due to the tree canopy most properties sit under. A plastic putty knife or a purpose-made groove cleaning tool works without damaging the cap layer. Then clean with a manufacturer-approved cleaner. Trex recommends Trex Composite Deck Cleaner for routine cleaning; TimberTech specifies their approved cleaners in the warranty documentation at TimberTech's warranty page. Using off-spec products — particularly anything containing bleach, acetone, or citrus solvents — can void your warranty.
Inspect all visible hardware: screws, hidden fasteners, joist hangers, post base hardware, and ledger bolts. Tighten anything that has worked loose over winter.
For PVC Decks:
PVC requires the least spring attention. A rinse with a garden hose and a once-over with mild soap and water handles cosmetic cleaning. The main spring task with PVC is the same hardware and structural inspection you'd perform on any deck — the boards themselves are essentially maintenance-free, but the substructure beneath them is not.
Fall Maintenance Window: September Through October
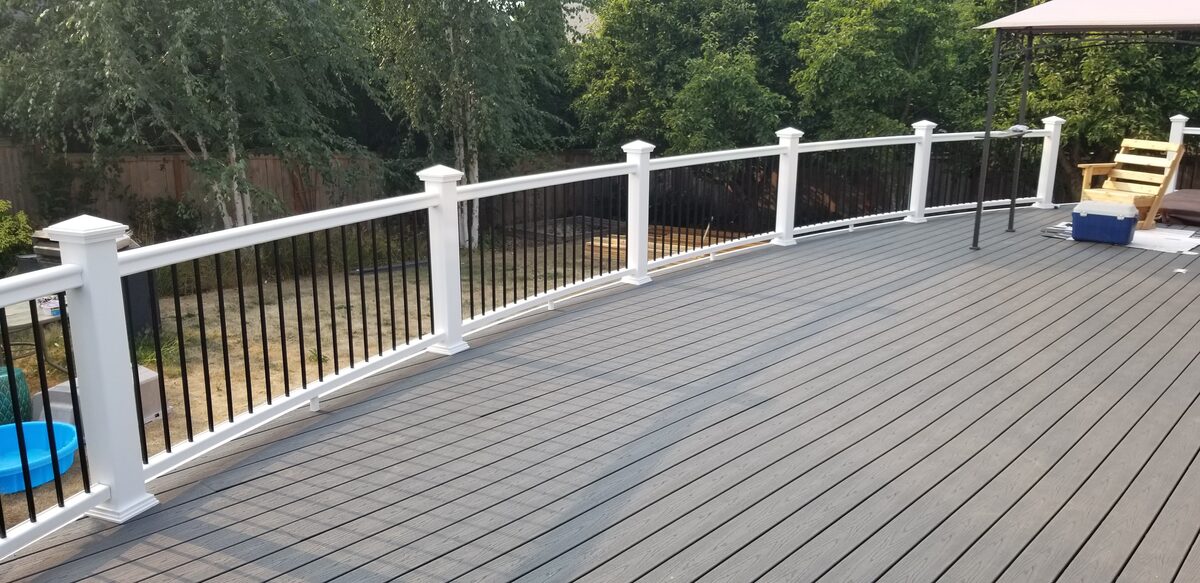
Fall maintenance is the most important window for Seattle homeowners, and it is the one most commonly skipped. The goal is to get your deck properly protected before the rains lock in for the season — typically by mid-October in the Puget Sound area.
For Cedar Decks — The Critical Fall Re-Stain:
Check every board surface. If any area shows bare, gray, or weathered wood, you need to re-stain before the wet season begins. This is non-negotiable in Seattle. Bare cedar exposed to six months of rain will gray, crack, and begin to check (develop surface cracks along the grain) within a single wet season. Once checking begins, the wood absorbs water laterally into the grain structure, and freeze-thaw cycling causes those cracks to expand. What starts as cosmetic weathering becomes structural degradation.
A semi-transparent oil-based stain penetrates cedar fibers and provides the best waterproofing performance in our climate. Products like Armstrong Clark, TWP (Total Wood Preservative), and Defy Extreme consistently perform well on Pacific Northwest cedar. Water-based stains have improved significantly, but in Seattle's sustained wet conditions, penetrating oil-based formulas still outperform film-forming water-based products for longevity.
Apply stain only to a clean, dry surface. If you wait until October to start and hit a rain spell, you may need to wait until the following spring — another reason the fall window matters. Aim to complete fall staining in September if possible.
For Composite Decks in Fall:
Repeat the groove-clearing process from spring. Seattle falls are particularly debris-heavy — alder leaves, big-leaf maple seeds, fir needles, and cedar debris accumulate rapidly. Clear the channels, clean the surface with an approved cleaner, and inspect underneath any features (built-in planters, furniture pads, outdoor rugs) that spent the summer on the deck.
Check for mold in any area that received low light over the summer. Composite deck mold in Seattle is almost always a surface mold, not structural, and comes off with a mold-specific composite cleaner. The problem is cosmetic until it isn't — heavy mold buildup on capped composite can eventually compromise the cap layer's integrity over many years.
Tip
Hardware Maintenance: The Part Most Homeowners Forget
Deck hardware is the unsexy part of deck maintenance, but failing to address it annually leads to some of the most expensive repairs we see across the Seattle area. Hardware problems are almost never visible until they've become structural.
Annual Fastener Inspection and Tightening
Once per year — spring is ideal — walk the entire deck with a screwdriver and tighten every visible fastener. Wood decks in Seattle go through significant moisture cycles: boards swell during the wet season and contract during the dry summer. This cycling works fasteners loose over time. A loose decking screw is a nuisance; a loose ledger bolt is a safety issue.
For composite decks with hidden fasteners, you won't be able to tighten the decking fasteners themselves without removing boards, but you should still inspect all perimeter screws (typically used at the rim joist), stair fasteners, railing post bolts, and any visible structural hardware.
Galvanic Corrosion on Cedar Decks
This is a Seattle-specific issue that we see consistently on cedar decks built before 2010 or on decks where the original hardware has never been inspected. Cedar contains naturally occurring tannins — the same compounds that give cedar its rot resistance. Those tannins are mildly acidic and, in combination with Seattle's persistent moisture, aggressively corrode galvanized steel hardware. The result is a chemical reaction called galvanic corrosion that stains the wood with rust-colored streaks and progressively weakens the fastener.
If your cedar deck has galvanized joist hangers, galvanized carriage bolts on the ledger, or galvanized post base hardware, put those on your inspection list. Rust streaks appearing around fastener heads are the first warning sign. Black staining around fastener heads indicates advanced corrosion.
The correct long-term solution for all cedar deck hardware in the Pacific Northwest is hot-dipped galvanized or stainless steel fasteners rated for ACQ-treated lumber and cedar. Stainless steel is the gold standard for longevity — it will outlast the deck itself. G185 hot-dipped galvanized is acceptable and more economical. Electroplated zinc (the shiny screws you find in most hardware store boxes) is not adequate for this climate and will fail within 3–5 years on a cedar deck.
Important
Railing Post Bolt Inspection
Railing posts — particularly those surface-mounted to the deck frame or rim joist — are under constant lateral load from anyone leaning against the railing. The through-bolts that secure them loosen over time. Check every railing post by applying lateral pressure and watching for movement. Any detectable wobble requires immediate attention.
Under Seattle's housing maintenance code/housing-and-building-maintenance), decks are required to be "reasonably free of decay, soft spots, loose pieces, deterioration, or other indications that repair is needed." A wobbly railing post fails that standard. For more on railing options and structural requirements, see our guide to deck railing options in Seattle.
Ledger and Post Base Inspection: Seattle's Two Most Critical Failure Points
In fifteen years of building and repairing decks across the Seattle metro area, two failure points account for the majority of structural deck failures we're called to address. Neither of them involves the decking boards you walk on. Both are hidden from view during normal use.
The Ledger Connection
The ledger is the framing member that attaches your deck to your house. It is, in effect, the most important piece of wood on your deck — it's what prevents the deck from separating from the structure entirely. And it is the most moisture-vulnerable member on the entire deck because it sits at the intersection of two structures, with siding above it, and in Seattle's climate, it almost always gets wet.
The failure mechanism is predictable: improper or deteriorated flashing allows water to migrate behind the ledger. The ledger itself begins to rot from the back face, which is invisible from any normal inspection. By the time you notice a soft spot or visual deterioration at the ledger, the rot has usually been progressing for two to four years.
The proper maintenance protocol for ledger inspection requires pulling back any siding that overlaps the flashing above the ledger — once per year. This takes about ten minutes with a flat bar. What you're looking for: flashing that has pulled away from the house sheathing, caulk that has cracked or separated at the flashing edge, any discoloration or staining on the sheathing behind the flashing, and any softness in the ledger itself when probed.
Seattle's deck permit requirements specify that ledger connections must be made with proper flashing and approved connectors — but even properly flashed ledgers need annual inspection in this climate. Flashing can be disturbed by settling, caulk fails over time, and woodpeckers (more common than you'd think in the east King County suburbs) sometimes attack flashing seams. For more on what the permitting process requires, see our deck permit guide for King County.
Post Bases: The Number One Failure Point
Post bases are the connectors that sit between your deck posts and the concrete pier below them. They are designed to hold the post in position while allowing water to drain away from the end grain — the most rot-vulnerable part of any post. When post bases work correctly, posts last for decades. When they fail, posts rot from the bottom up, and the failure is hidden under the post itself.
The signs that a post base is failing or has already failed:
- Rust staining on the concrete pier below the post base. This indicates the post base hardware itself is corroding, which means water is getting into the connection.
- Soft wood at the post base level. Use an awl or screwdriver to probe the post within the first few inches above the base. Sound wood resists penetration.
- Visible corrosion on the post base hardware. The sides of the post base connector should be clean metal with no active rust.
- Post movement. Any lateral movement of a post at its base, even a small amount, indicates the connection is compromised.
The fix for a failed post base ranges from a straightforward hardware replacement (if the post wood itself is sound) to a more involved repair that includes sistering a new post alongside the damaged one. We cover the repair side of this in detail at our deck repair page.
Key insight
Moss, Algae, and Mildew: The Pacific Northwest Biological Problem
No deck maintenance guide for Seattle is complete without dedicated coverage of moss and algae. These are not aesthetic problems — they are structural threats. Moss holds moisture against wood surfaces continuously, prevents the surface from drying between rain events, and accelerates wood degradation dramatically. A cedar board under a moss colony ages at roughly twice the rate of a clean board in the same conditions.
Treatment: Oxygen Bleach for Active Moss
For active moss colonies — which you'll find on any wood deck that hasn't been treated in the past year — oxygen bleach (sodium percarbonate) is the correct treatment for Seattle. Products like Corte-Clean, OxiClean, or a dedicated deck wash formulation are all appropriate.
The protocol: apply to a wet surface, allow 15–30 minutes of dwell time, scrub with a stiff brush to break up the moss colony, and rinse thoroughly. For heavy moss coverage, a second application the same day is appropriate. Avoid sodium hypochlorite (chlorine bleach) on wood decks — it works faster but it also degrades wood fibers and lightens the natural wood color. On composite decks, chlorine bleach violates most manufacturer warranties and can damage the cap layer.
For stubborn moss on composite decks, Trex's approved mold remover and TimberTech-approved cleaners are designed to address mold and mildew within the warranty framework. Using off-spec products to kill moss on composite decking is a warranty risk that isn't worth taking.
Prevention: Zinc Strips
Moss treatment is reactive. Zinc strip installation is the proactive solution that makes a measurable difference over a 5–10 year period.
Zinc strips (available as Z-Stop, Zinc-It, or in ridge roll form) work by releasing zinc oxide with every rainfall. Zinc oxide is toxic to moss and algae at very low concentrations. Install a continuous 6-inch zinc strip along the top of your deck's perimeter railing, along any cap rail, or along any horizontal surface where moss tends to accumulate first. On rooftop decks and structures with a defined ridge, install at the ridge line.
One installation lasts 10–15 years. The ongoing protection is essentially free once the strip is in place. This is one of the highest-ROI investments a Seattle deck owner can make.
Treatment Frequency
- Wood decks: Moss treatment as part of the bi-annual cleaning cycle (spring and fall). Re-apply stain annually or bi-annually to maintain a biological barrier.
- Composite decks: Address mold and mildew in spring and fall as part of standard cleaning. Add zinc strips to railing cap rails for prevention.
- PVC decks: Surface mold is rare because PVC offers no organic material for mold to consume. Treat if it appears; prevent with zinc strips on surrounding structures.
Note
Products by Material: What Works and What Voids Your Warranty
The Seattle market is flooded with deck maintenance products, and the wrong choice can cost you a warranty claim or actually damage your deck. Here's a material-specific breakdown of what to use, what to avoid, and why.
Cedar Deck Products
What to use:
- Deck cleaner: Oxygen bleach-based products (Corte-Clean, Defy Wood Cleaner, Armstrong Clark Wood Cleaner). Always clean before staining.
- Brightener: Oxalic acid-based deck brightener after cleaning restores wood's natural tone and opens the grain for better stain penetration.
- Stain/sealer: Penetrating oil-based semi-transparent stains for Seattle's climate — Armstrong Clark Semi-Transparent, TWP 100 Series, Defy Extreme Wood Stain. These penetrate the fiber rather than forming a film, so they don't peel and don't trap moisture.
- Avoid: Film-forming stains and solid-color paints. They look great for one season in Seattle and then peel, requiring complete stripping before re-application. Stripping a cedar deck adds $300–$800 to the next maintenance cycle.
What to avoid:
- Sodium hypochlorite cleaners that lighten and degrade wood fiber
- Film-forming sealers that trap moisture and peel
- Water-repellent sealers without UV protection (they waterproof but don't protect against UV-driven graying)
Composite Deck Products
What to use:
- Manufacturer-approved composite deck cleaners (Trex Composite Deck Cleaner, TimberTech-approved products, Fiberon Cleaner and Brightener)
- Mild dish soap and water for routine cleaning
- A soft-bristle brush or microfiber mop — never steel wool or abrasive pads that scratch the cap layer
What VOIDS composite warranties:
The warranty implications here are significant. According to Trex's warranty documentation and parallel language in Fiberon's warranty terms:
| Action | Warranty Impact |
|---|---|
| Pressure washing above 3,100 PSI | Voids stain/fade warranty |
| Using chlorine bleach | Voids stain/fade warranty |
| Acetone, citrus solvents | Potential cap layer damage |
| Failure to maintain per manufacturer specs | Basis for warranty claim denial |
| Using third-party stain or sealer | Voids warranty (composite doesn't need staining) |
The composite warranty situation is worth understanding in detail if you're comparing long-term material costs. A 25–50 year warranty sounds compelling, but voiding it through improper maintenance eliminates that protection entirely. For our full breakdown of which composite brands perform best in Seattle specifically, see Trex vs. Fiberon vs. TimberTech in Seattle.
PVC Deck Products
PVC decking (AZEK, Versatex, Wahoo Decks) requires the least product intervention. Mild soap and water handles routine cleaning. For staining — which is occasionally done for color refreshing on faded PVC — only products specifically approved for PVC bonding will adhere properly. Standard deck stains do not bond to PVC and will peel within one season.
Hardware maintenance for PVC decks is identical to other materials. The boards are inert; the structural system beneath them is not.
For a deeper comparison of PVC versus composite options, see our best decking materials guide for Seattle 2026.
20-Year Maintenance Cost Comparison by Material
One of the most useful frameworks for Seattle deck owners making material decisions — or planning a budget for an existing deck — is a 20-year maintenance cost model. The numbers below are based on a 400 square foot deck in the greater Seattle area, using current 2026 contractor and product pricing.
Includes annual cleaning, staining/sealing, hardware maintenance, and periodic professional inspection. Cedar assumes bi-annual staining. Does not include structural repairs. Source: Seattle-area contractor data, 2026.
| Category | Value |
|---|---|
| Cedar (DIY) | $4,800 |
| Cedar (Pro) | $9,600 |
| Composite (DIY) | $960 |
| Composite (Pro) | $2,400 |
| PVC (DIY) | $480 |
| PVC (Pro) | $1,600 |
The gap between cedar and composite maintenance costs over 20 years — $3,840 to $7,200 depending on DIY versus professional maintenance — is significant and should factor into every material selection decision. That said, cedar's lower upfront installation cost and its aesthetic qualities continue to make it the right choice for many Seattle homeowners. The key is going in with realistic expectations about the ongoing maintenance commitment. For the full cost picture including installation, see our deck cost guide for Seattle.
Detailed Annual Cost Breakdown by Material
| Maintenance Task | Cedar (DIY) | Cedar (Pro) | Composite (DIY) | Composite (Pro) | PVC (DIY) |
|---|---|---|---|---|---|
| Spring cleaning | $30–$60 | $150–$300 | $20–$40 | $100–$200 | $10–$20 |
| Fall cleaning | $30–$60 | $150–$300 | $20–$40 | $100–$200 | $10–$20 |
| Stain/sealer (bi-annual) | $100–$200 | $400–$800 | $0 | $0 | $0 |
| Hardware inspection/tighten | $0 (DIY time) | $75–$150 | $0 | $75–$150 | $0 |
| Moss treatment | Included in cleaning | Included | Included | Included | Rarely needed |
| Annual average | $160–$320 | $775–$1,550 | $40–$80 | $275–$550 | $20–$40 |
Professional vs. DIY Maintenance
For most Seattle homeowners with physical access to their deck, DIY maintenance is entirely practical for routine cleaning, staining, and hardware inspection. The tools required — a garden hose or pressure washer (under 1,500 PSI for wood; under 3,100 PSI for composite), a stiff brush, screwdriver set, and deck stain applicator — represent a one-time investment of $150–$300 that pays back in the first season.
Professional maintenance makes sense in specific situations:
- Decks with difficult access (steep hillsides, second-story decks, rooftop decks)
- Homeowners who haven't maintained in 2+ years and need a baseline restoration
- Annual inspection of structural elements (ledger, post bases, hardware) by someone who knows what failure looks like
We offer deck maintenance inspections and service throughout the greater Seattle area. If you haven't had a professional look at your deck's structural elements in the past three years, it's worth a call to (425) 675-6259 to schedule an assessment.
Signs That Maintenance Isn't Enough: When to Call a Contractor
Regular maintenance extends the life of a deck dramatically, but it cannot reverse structural damage that has already occurred. Knowing when maintenance has reached its limit — and when professional assessment or repair is required — can save you from a dangerous situation and prevent a small problem from becoming a full deck replacement.
Warning Signs That Require Professional Evaluation
Springy or bouncy deck surface: Some flex is normal in wood decks. Noticeable bounce, particularly in the middle of the deck span, indicates joist failure or joist spacing issues. This is a structural problem, not a maintenance problem.
Visible rot at any framing member: Surface rot on a decking board can sometimes be addressed by board replacement. Rot in a joist, beam, post, or ledger is a structural repair. The question is always how far it has spread — and that requires opening up the deck to assess.
Deck that has shifted, tilted, or separated from the house: Any visible movement of the deck structure relative to the house or relative to level is a serious warning sign. This can indicate post failure, ledger failure, or pier failure.
Rust staining at multiple fastener locations: Widespread rust staining on the deck surface around screw heads indicates that the fasteners themselves are corroding through. If this is happening at the surface-visible fasteners, the hidden structural hardware (joist hangers, post bases, ledger bolts) is likely in worse shape.
Decking boards that won't hold stain: If cedar boards absorb stain unevenly or won't hold a finish despite proper preparation, the wood fibers may be too degraded to respond normally. This often means it's time for board replacement rather than another maintenance cycle.
Any soft spot at post bases, ledger, or beam bearing points: As described in the structural inspection section above, softness at any load-bearing point is a repair-or-replace situation.
When to Consider Full Deck Replacement
A well-maintained cedar deck in Seattle can legitimately last 20–30 years. A neglected one may need replacement at year 10–12. Composite decks in good structural condition rarely need replacement before year 25–30. The decision to repair versus replace depends on how much of the structural system remains sound.
If more than 30% of the joists show rot, if the ledger needs replacement, if multiple posts need replacement, or if the overall structure has shifted out of level, replacement is typically more economical than repair. Our deck repair page walks through the repair-versus-replace calculus in detail, and we're always available to provide an honest assessment at (425) 675-6259.
Tip
Seasonal Moss Treatment Protocol: Step-by-Step
Given how significant moss is as a maintenance challenge in the Pacific Northwest, a detailed protocol for both treatment and prevention is worth spelling out fully.
Spring Moss Treatment (April–May)
Materials needed:
- Oxygen bleach deck cleaner (1 cup per gallon of water, or per label)
- Stiff-bristle nylon deck brush (not wire — wire damages wood fiber and composite cap layers)
- Garden hose with adjustable nozzle, or pressure washer set to 1,000–1,500 PSI (wood) or under 3,100 PSI (composite)
- Safety glasses and rubber gloves
Protocol:
- Wet the entire deck surface before applying cleaner — this prevents the cleaner from being immediately absorbed into dry wood and reduces the chance of uneven treatment.
- Mix oxygen bleach cleaner per label directions in a garden sprayer or bucket.
- Apply to the entire surface, working in 8–10 foot sections.
- Allow 15–30 minutes of dwell time. Keep the surface wet if it begins to dry before the dwell period ends.
- Scrub with the stiff brush, using extra attention on any visible moss colonies. The goal is to physically break up the moss mat so the cleaner can penetrate to the attachment points.
- Rinse thoroughly from the house outward, removing all cleaner residue.
- Allow to dry completely before assessing finish condition (cedar) or before replacing furniture (composite/PVC).
For heavy moss infestations: A second application on the same day is more effective than a single heavy application. For extremely heavy moss (colonies thicker than 1/4 inch), mechanically scrape the bulk of the moss off first with a plastic scraper before applying the chemical treatment.
Fall Moss Prevention (September–October)
Fall is the right time to apply preventive treatments, because this is when the moss growth cycle restarts after the summer dry period.
Zinc strip installation: If not already in place, install continuous zinc strips along the top of railing cap rails, along any horizontal ledge, and along any structure edge that sheds water onto the deck below. Brands to look for: Z-Stop, EcoHold Zinc, or standard 6-inch zinc flashing available at any local roofing supply house.
Preventive spray treatment: After the fall cleaning, a preventive application of a diluted oxygen bleach solution (half-strength relative to the cleaning application) applied to a clean, dry surface creates a temporary biological barrier for the early part of the wet season. This is not a substitute for zinc strips but works well as a seasonal supplement.
What NOT to Do for Moss Treatment
- Don't use a wire brush or wire wheel attachment — this physically damages both wood and composite surfaces.
- Don't apply chlorine bleach — it damages wood fiber, kills surrounding vegetation, and violates composite warranties.
- Don't pressure wash at excessive PSI — high-pressure washing drives moisture into wood grain and can raise wood fibers permanently (called "fuzzing"), creating a rough surface that is actually more hospitable to moss regrowth.
- Don't skip fall prevention — treating moss in spring without preventing it through fall and winter means you're treating the same colonies twice a year indefinitely. The zinc strip breaks this cycle.
FAQ
Frequently Asked Questions
How often should I stain my cedar deck in Seattle?
Can I power wash a composite deck?
What causes black streaks on my cedar deck?
How do I know if my deck ledger is failing?
Is moss on my composite deck a structural problem?
What's the best deck stain for Seattle weather?
How much does professional deck maintenance cost in Seattle?
Does composite decking get mold in Seattle?
What void a composite deck warranty?
How do I treat post base corrosion on my Seattle deck?
Should I cover my deck furniture in Seattle winters?
When should I replace my deck versus doing repairs?
Closing: Protecting Your Investment in Seattle's Climate
A deck in the Pacific Northwest is a different animal than a deck anywhere else in the country. The combination of sustained moisture, biological growth pressure from moss and algae, marine air corrosion on hardware, and the freeze-thaw cycles of a Seattle winter means that neglect compounds faster here than in drier climates. But the flip side is also true: a properly maintained deck in Seattle — whether cedar, composite, or PVC — will reward your attention with decades of reliable use and strong home value.
The maintenance protocols in this guide aren't complicated. They require two active windows per year, the right products for your material, and an honest annual look at the structural elements that most homeowners never think about. Post bases, ledger flashing, hardware corrosion — these are the things that determine whether your deck lasts 15 years or 30.
If you have questions about your specific deck's maintenance needs, want a professional structural inspection, or are starting to think about whether your existing deck has reached the end of its practical life, we'd be glad to help. The Seattle Decking Company serves homeowners across the greater Seattle area — from Bothell and Woodinville to Bellevue, Kirkland, Edmonds, and the Eastside. We build decks designed for this climate, and we're honest about what maintenance they require and when it's time to consider a new structure.
Call us at [(425) 675-6259](tel:4256756259) or contact us online to schedule a deck inspection or maintenance consultation. We're located at 22722 29th Drive SE, Bothell, WA 98021 and serve the entire Puget Sound region.
For more information about your deck, explore our related guides:
- How to Choose the Best Decking Material for Seattle
- Composite vs. Cedar Decking in Seattle: The Full Comparison
- Deck Staining vs. Going Composite in Seattle
- Seattle Deck Cost Guide 2025
- Fall Deck Prep in Seattle
- Winter Deck Inspection Guide for Seattle
Planning a deck in the Seattle area?
Get an onsite design review and a clear, itemized quote from a licensed local builder.
Request a Free Quote